Tag Archives: garlic

Rucola pesto, home made

Simple but very tasty pesto.

  • about 50 grams of rucola
  • 40 ml of olive oil
  • a pinch of salt
  • cloaf of garlic
  • 30 grams of pecorino or gran padano or even parmigiano (grated)
  • 40 grams of roasted pine nuts
  • 1 teaspoon of black pepper
  • 1 tablespoon of lemon juice


Put all ingredients in the blender and mix it up till it’s a nice green substance. If too dry, just add some olive oil. Drops at a time.

T-Bone and Taters. Good food.

Not much complication, but a genuine good dish for a saturday. I still had a nice little T-Bone steak in the freezer, and decided to prep that. I wanted something nice and simple, since I didn’t have that much time today.

I’ve marinated the steak using a simple yet effective way.

Just used the following.

  • 5 tablespoons of olive oil
  • pepper
  • salt
  • 2 cloves of garlic, not too finely cut up.

I’ve put that all in a ziplock bag, with the defrosted steak and let that rest in the fridge for about 2 hours.

Meanwhile I’ve sliced up some potatoes and heated up my skillet with some olive oil. I’ve baked the potatoes and just added some dried italian herbs and some salt to it. Simple yet effective.

IMG_4191

IMG_4192

Meanwhile I’ve heated up my WGA with some charcoal and waited until it was searing hot. Just do both sides of the T-Bone for about 60 seconds and then move it to indirect and close the lid. For a red steak, use about 4- 6 minutes, depending on the thickness of the steak and for medium, use about 7 – 9 minutes indirect. Great steak. I’ve covered it in aluminium foil for about 5 minutes before serving and eating. Loved it with a glass of rosé wine.

IMG_4193

Chicken paella from the grill

Love the versatility in a piece of chicken. Today I decided to make paella with it. Kids don’t want to eat shrimps or clamps, but chicken and chorizo is always a good proposal. Mis-en-place is a pain, but once ready, you can make a good paella pretty easy. Here’s how and what.

Needed :

  • 1 tablespoon of smoked paprika powder
  • 2 teaspoons of dried oregano
  • salt and black pepper to taste
  • 200 gram of boneless chicken
  • garlic
  • 2 cups of paella rice (or whatever rice you have at hand, of course. Short grain)
  • 1 teaspoon of dried chili rings
  • 1 tube of saffran threads
  • 2 bay leafs
  • loads of flat leaf parsley
  • 1 liter of chicken stock
  • 1 zested lemon
  • 1 onion
  • 1 red bell pepper
  • 250 grams of chorizo
  • 250 grams of divided chicken wings

Seems like a lot, but don’t worry. step-by-step it’ll get easier.

First, start by cutting up the boneless chicken into small cubes and put the in a bowl, together with a chopped up pepper, the paprika powder, oregano and some salt and pepper. Mix well and set aside (preferably refrigerated) for later use.


IMG_3210

IMG_3211

IMG_3212

IMG_3213

IMG_3214

Now you can start of by cooking and grilling, while cutting things up on the go, but I prefer to do everything up front in the kitchen and have it ready when needed.

I’ve started by letting my youngest son mix up some olive oil and a nice chicken rub in a bowl. They will go first later on.

IMG_3216

Now, I’ve started to chop the garlic and add the crushed chili rings.

IMG_3217

I’ve also prepped the bay leafs and the safran, and measured out the rice. No big deal, but easy enough to work with once you start on the BBQ. Temperature is quite high, so walking of to do some cutting is too much time and you’re food will burn.

I’ve removed the plastic outside of the chorizo and crumbled it into a bowl too.

IMG_3218

IMG_3219

Created a liter of chicken broth, ready to go.

IMG_3220

And setup most of the stuff on a tray next to the table. Now the grilling and combining starts.

IMG_3221

I’ve started by heating up some 2 – 3 tablespoons of olive oil in the paella pan. Once hot, I’ve added the garlic and chili and the rice too. Keep stirring the rice until it’s nicely covered in oil and it gets slightly crispy.

IMG_3223

Now add the stock, bay leafs, safran and the zest of the lemon and (try to) bring down the temperature to a medium heat and let it boil into the rice itself. I’ve closed the lid and closed the air vents almost all the way, and it took me about 15 minutes to have the rice ready.

IMG_3226

I’ve whisked it through and set that aside for later use.

The second part is getting a new pan on and heating up some oil again (apparently very important for paella…. ), and bake the chicken / pepper mixture, with the onion added until nice and brown and then add the chorizo and keep stirring until the oil releases from the chorizo, creating some great flavor for the paella.

IMG_3227

IMG_3228

IMG_3229

The mixture is now whisked through the cooked rice and I’ve topped it off with the divided wings and the lemon slices from the one we used for the zest.

IMG_3230

Bon appetit, or in spanish, Buen apetito!

IMG_3231


Grilled chicken with sour cream

Chicken, chicken, chicken. I’ve done it a milion times, but I wanted something else today. Time the kids learn the true meaning of different flavours. I’ve been thinking and using the internet, and I’ve found something I (and the kids) really love.

Grilled butterflied chicken with a sour cream under the skin. Not the easiest to do, but a great taste and good moisture.

To start with the sour cream semi-stuffing, you just use the following.

  • 3/4 cup of sour cream
  • 1/4 cup dice red onion, although I’ve used about twice that amount.
  • 2 cloves of garlic
  • 1 teaspoon of dried oregano
  • 1 teaspoon of dried dill
  • 1/2 a teaspoon of salt
  • 1/2 a teaspoon of black pepper

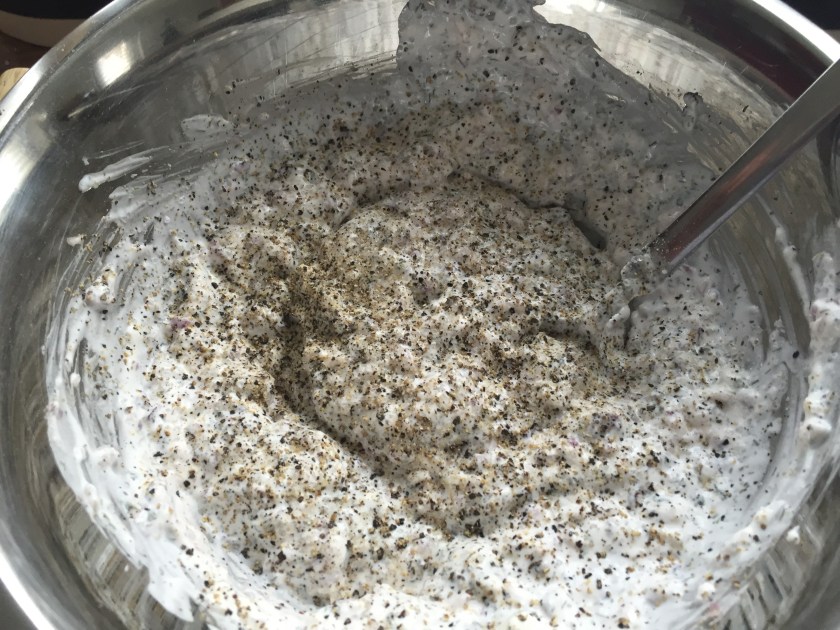
First, put the sour cream in a bowl and add the dried oregano and dill. Stir well and enjoy the smell. It smells great already.

IMG_3180

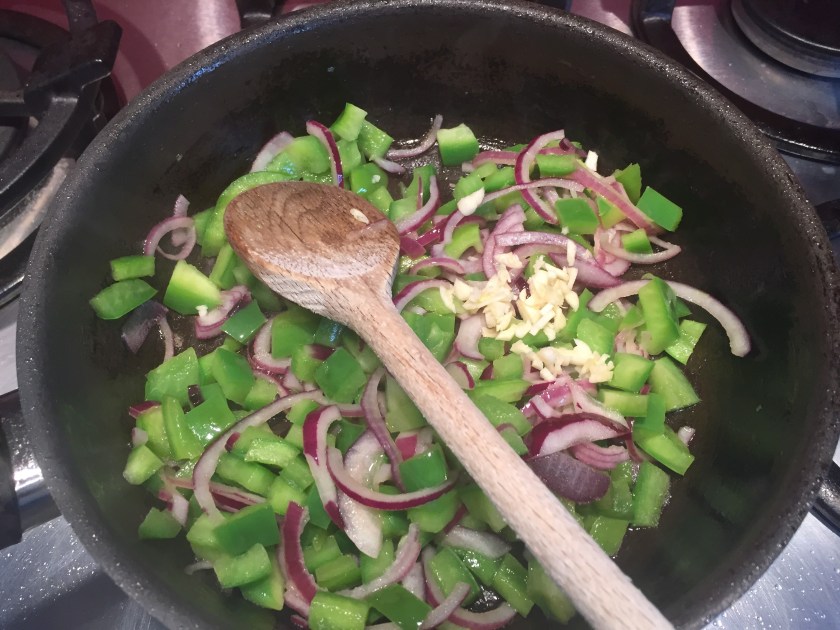
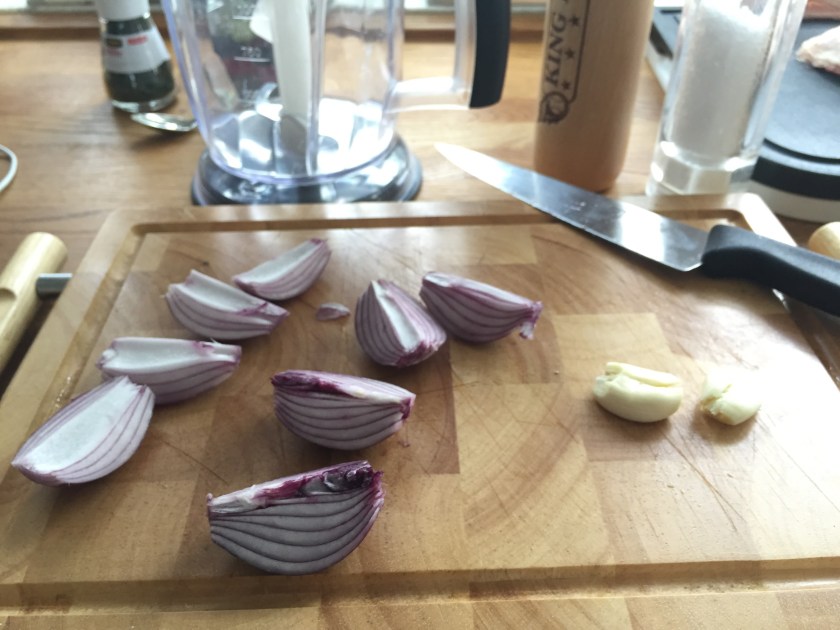
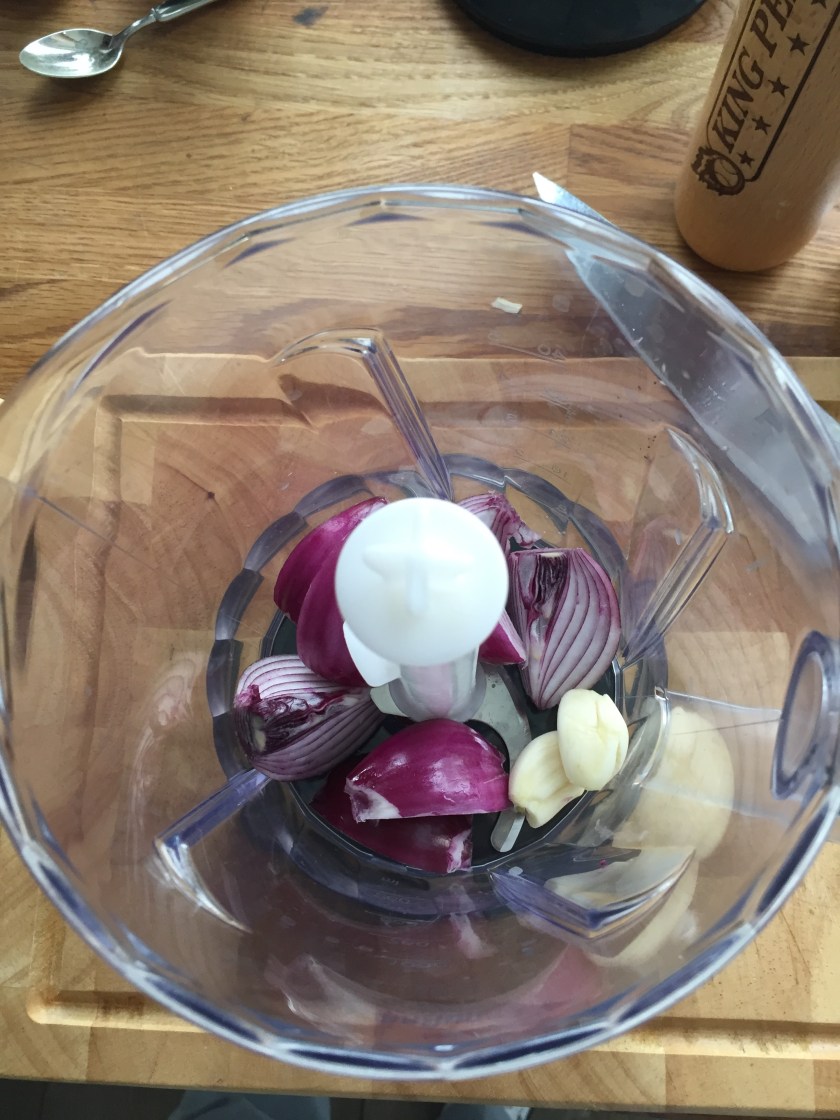
After this, I’ve chopped up 2 red onions and the garlic and put that in the blender. (lazy me, I know, but yeah. I just have the thing, so not using it is even worse, I guess). About 3 seconds later it’s done.

IMG_3177

IMG_3178

IMG_3179

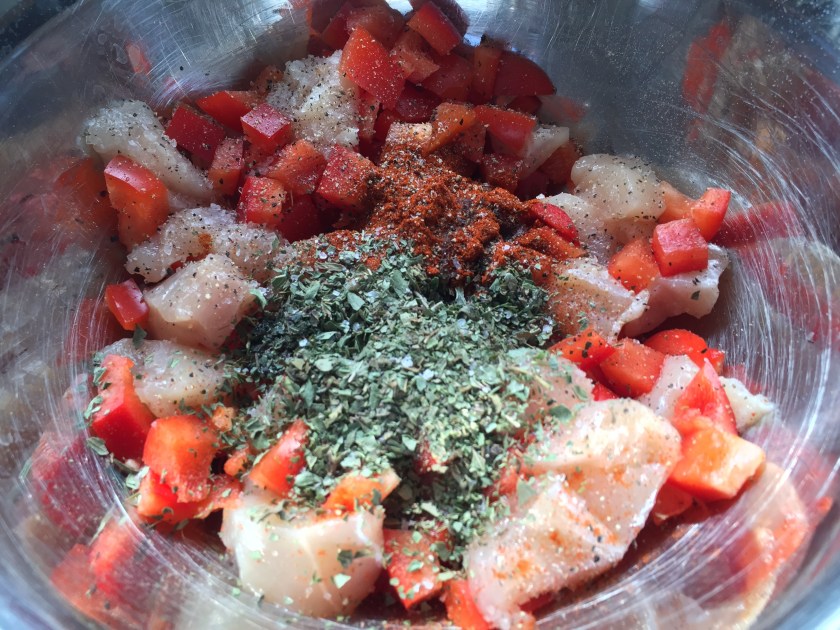
Scoop it through the mixture and add the salt and pepper.

IMG_3181

IMG_3183

IMG_3185

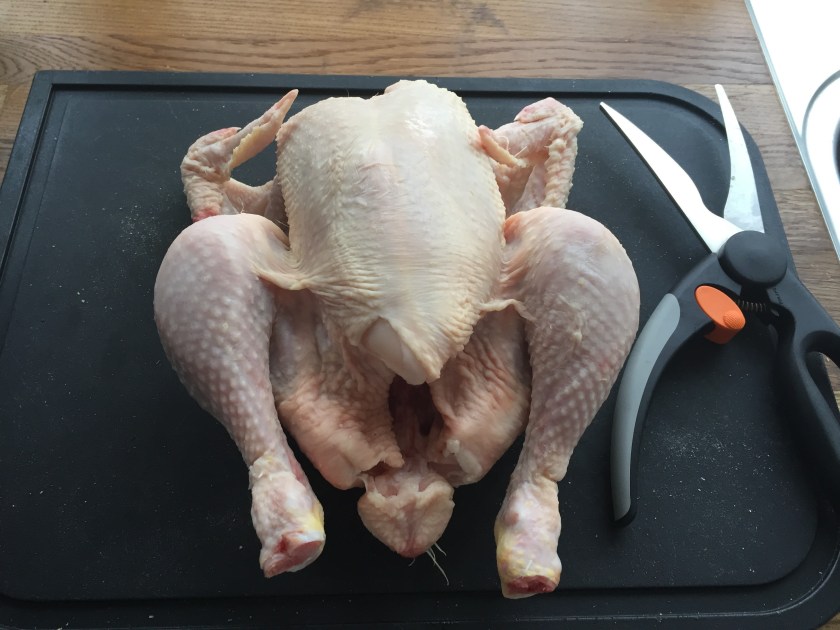
Now put it aside and begin a new and uncharted journey into butterfly chicken….

To properly butterfly a chicken, you just have to remove the spine. Not that hard, if you have to correct tools for it, but with a simple knife, this can be tricky. I use a good pair of bone scissors. Love the thing!

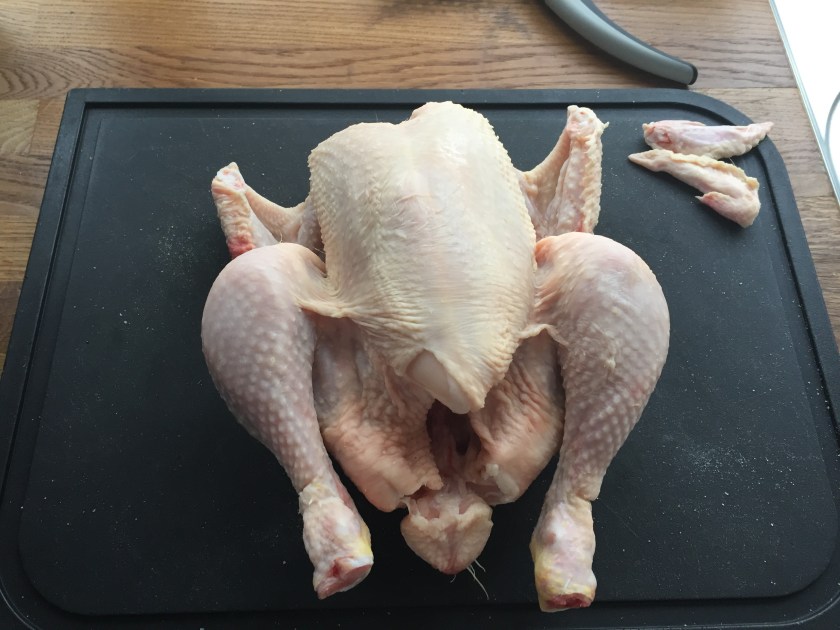
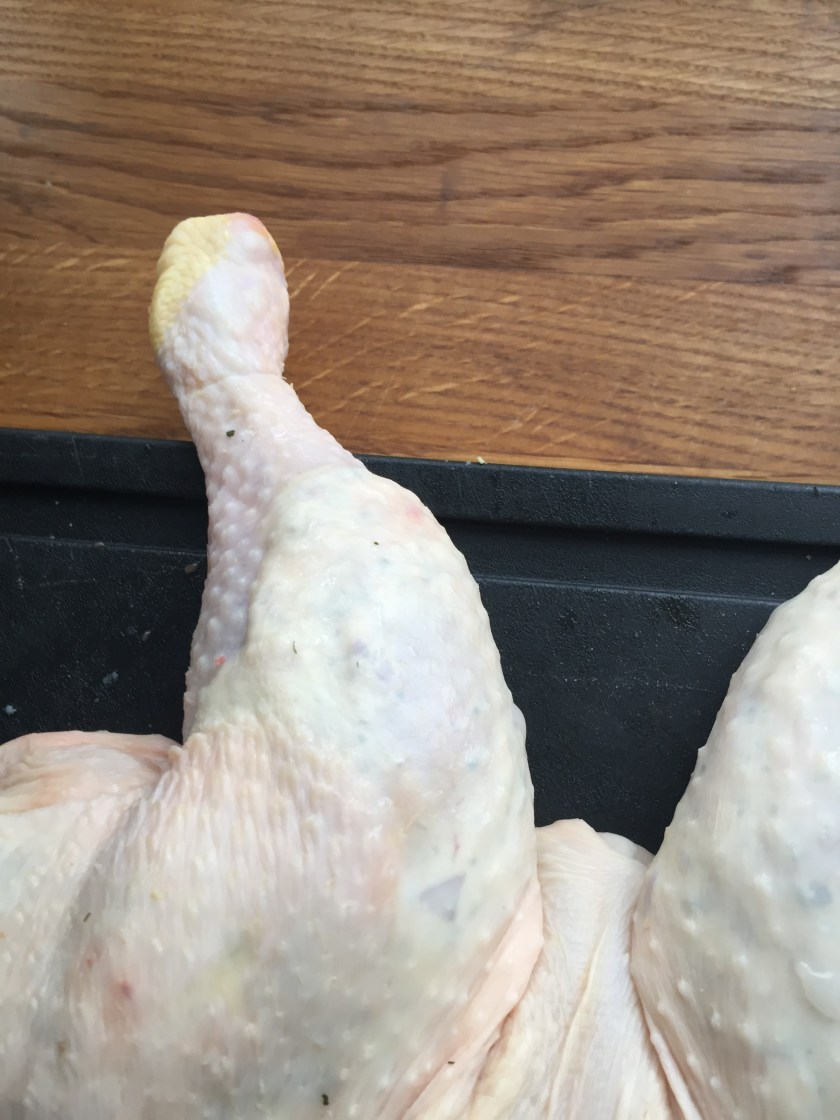
I’ve started by cutting of the wing tips, as there is no meat on it whatsoever, and they tend to burn pretty quickly, not looking nice on your beautiful hot chick.

IMG_3168

Place the chicken, back up, bottom facing yourself on a board and start cutting it, alongside the spine, al the way up to the neck.

IMG_3169

IMG_3170

IMG_3171

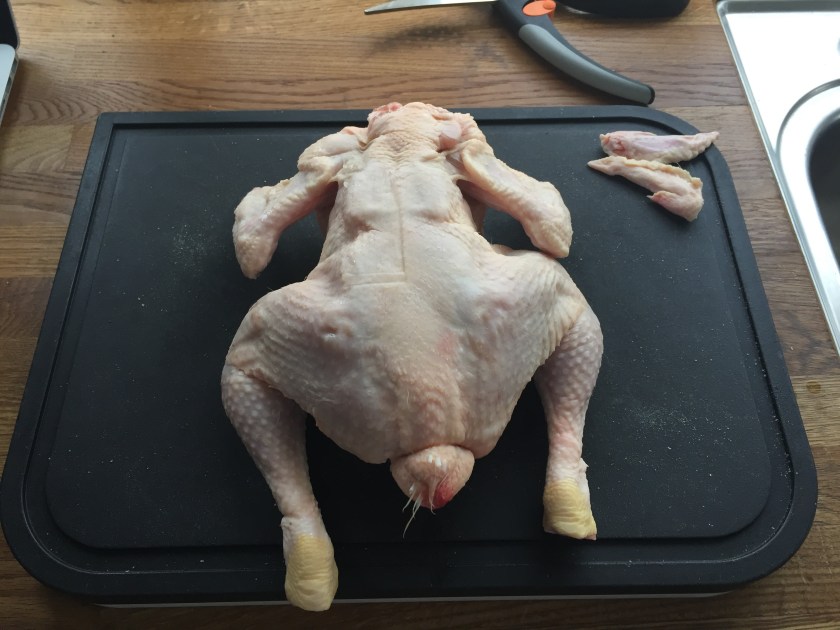
Now repeat that step on the other side of the spine and remove the thing altogether. You can use it for some stock or just throw it away. You’re choice. I’ve threw it away.

IMG_3172

IMG_3173

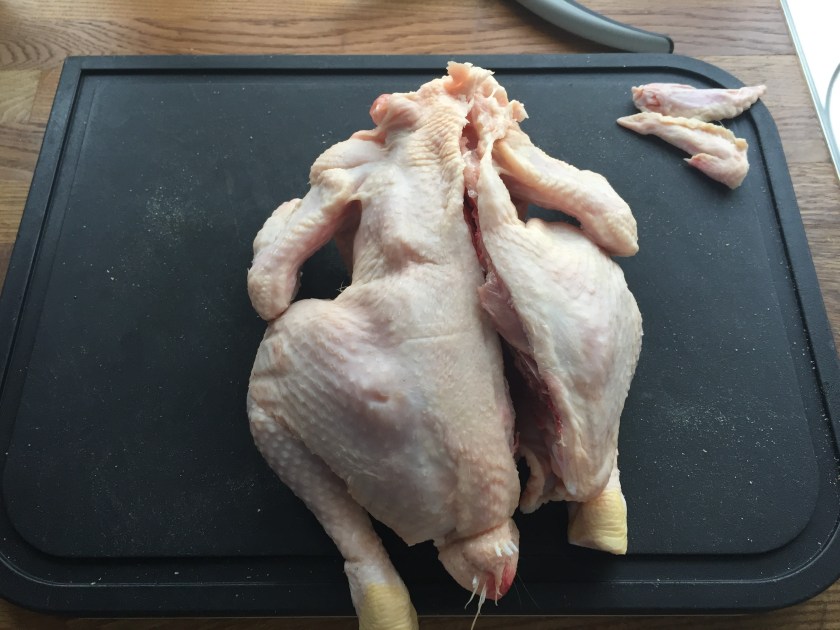
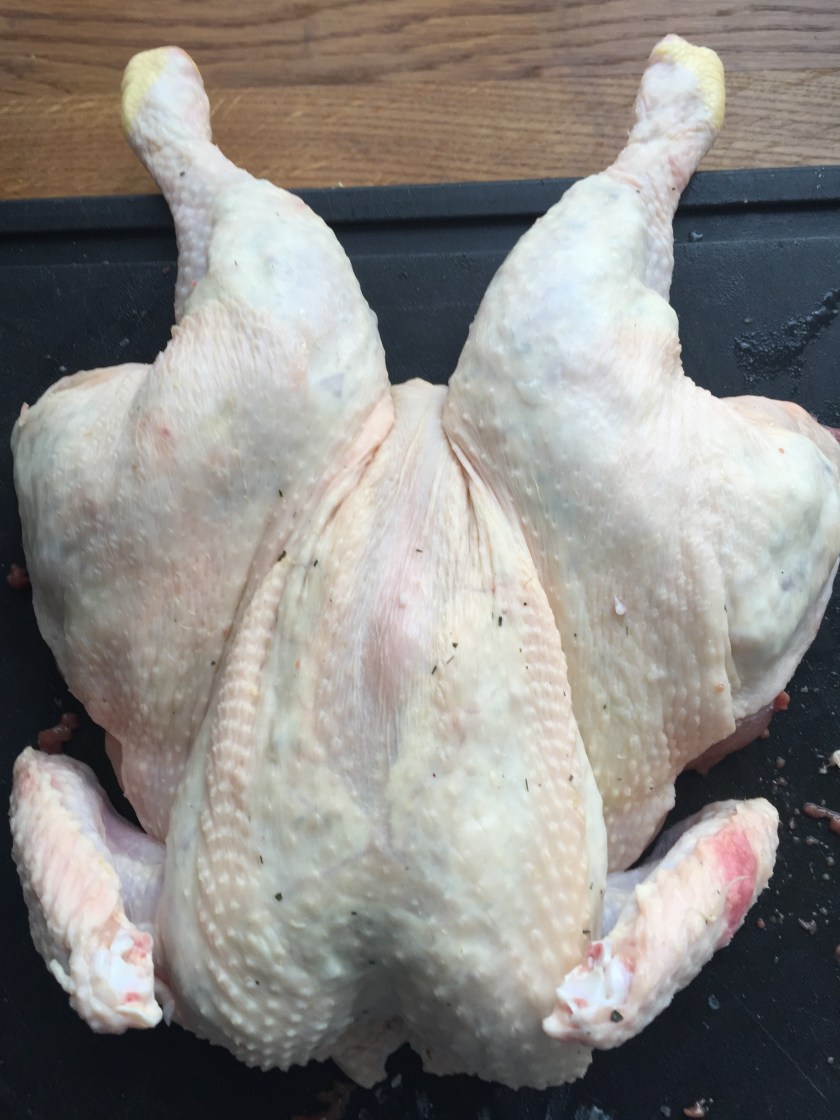
Now the fun part. Turn it back with the open side down and press down on the breast part until you hear 2 bones snap. This is the wishbone that either breaks or snaps out of place, allowing for a much more flat chicken.

IMG_3174

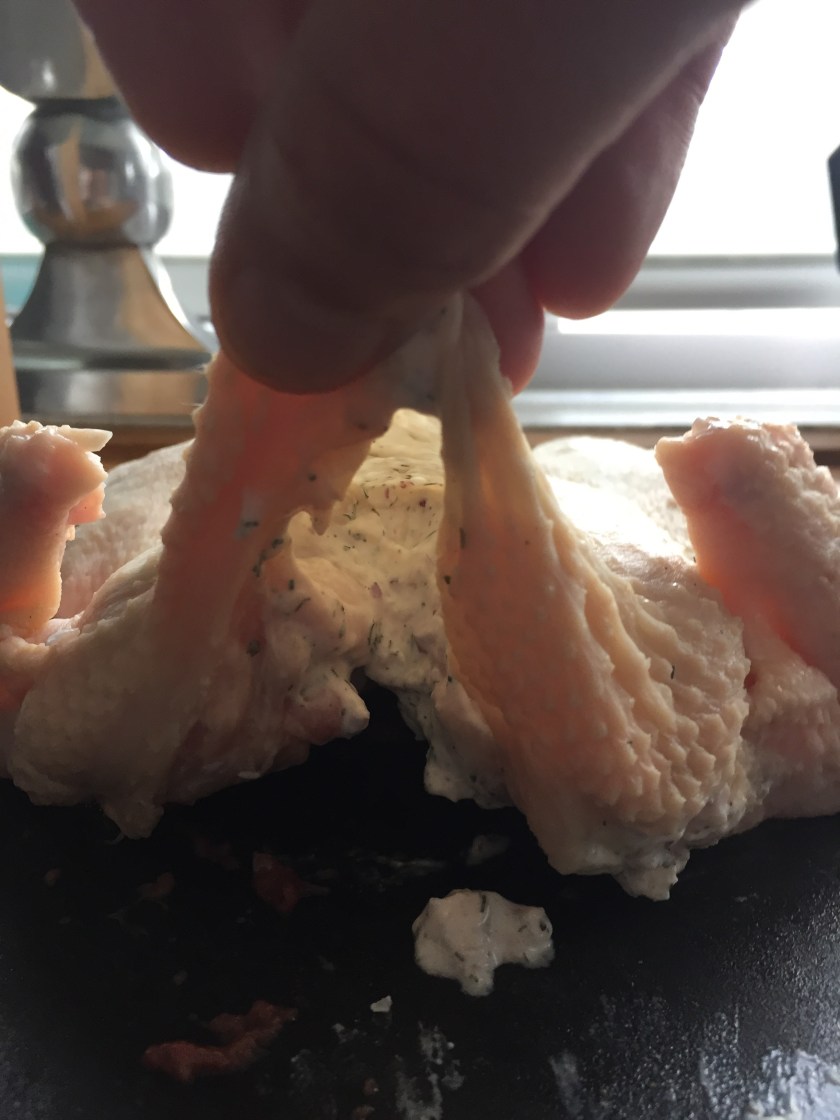
Once butterfly’d, or butterflied, (not sure, as I’m not native english …. 😉 ), start by pushing your fingers gently between the skin and the flesh and release it from the flesh, al the way down to the legs and back. It’s kind of an addictive job, as it feels pretty nice to do so …. or is that just me. The wings I left alone, since that would be too much to get the skin loose from. Just be careful not to puncture or break the skin.

Now, start spooning the opening up with the created sour cream and massage it all the way through. Nice job, that might take up some time too.

IMG_3186

IMG_3188

IMG_3187

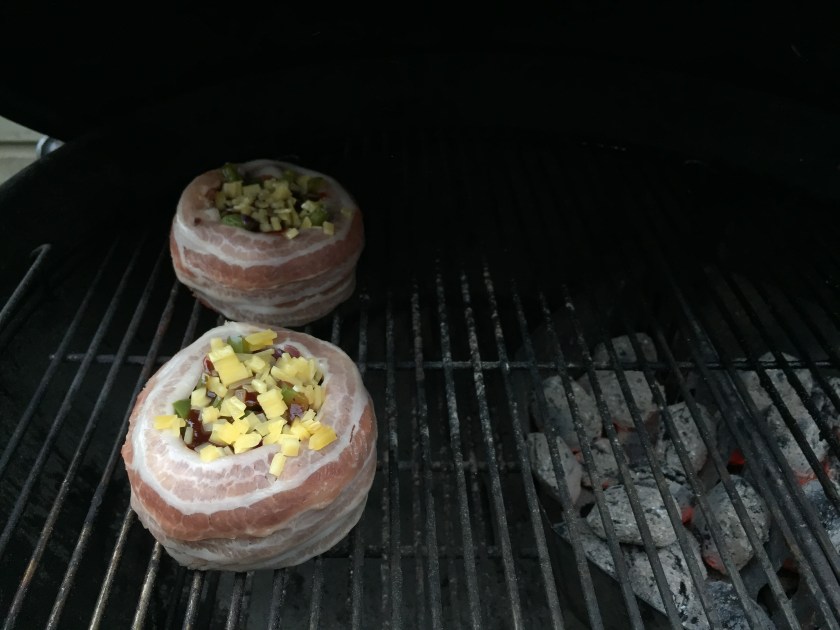
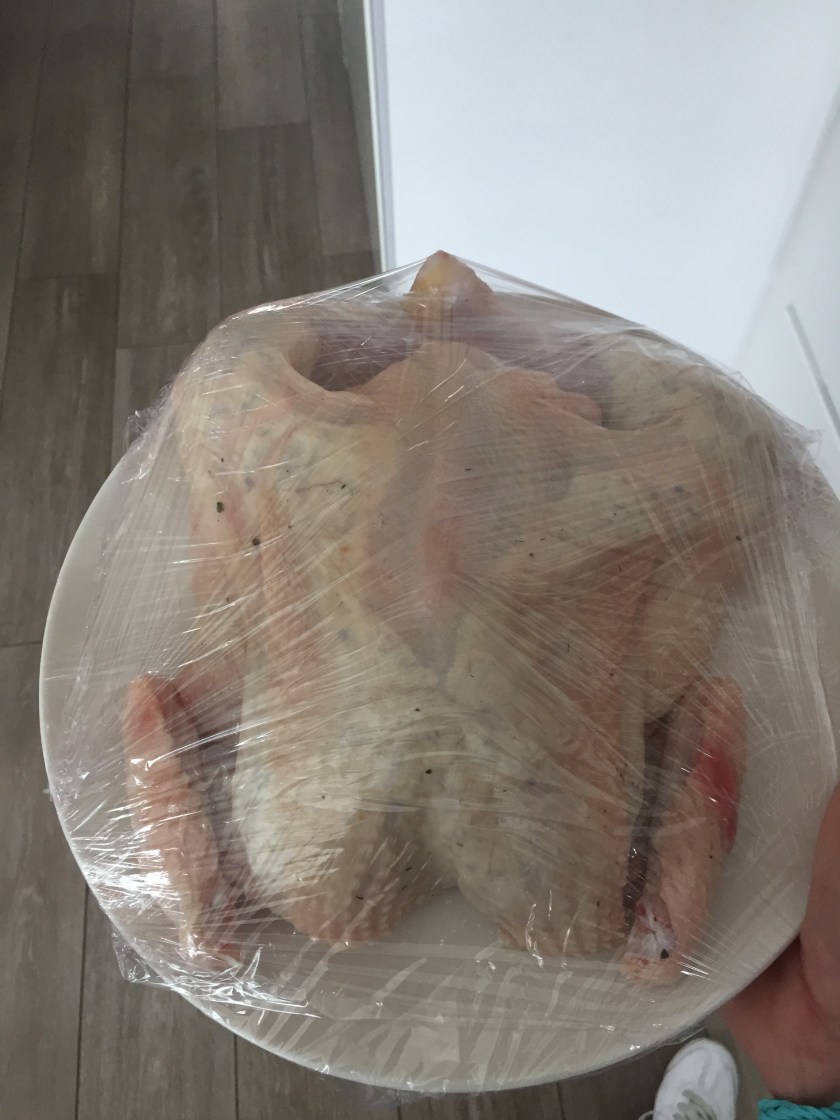
After this nice massage of this good looking chick, just wrap it in and refrigerate it for at least 1 hour (preferably overnight), and take it out once you’re ready to go grilling.

IMG_3189

The grilling part is the easiest, of course, as allways.

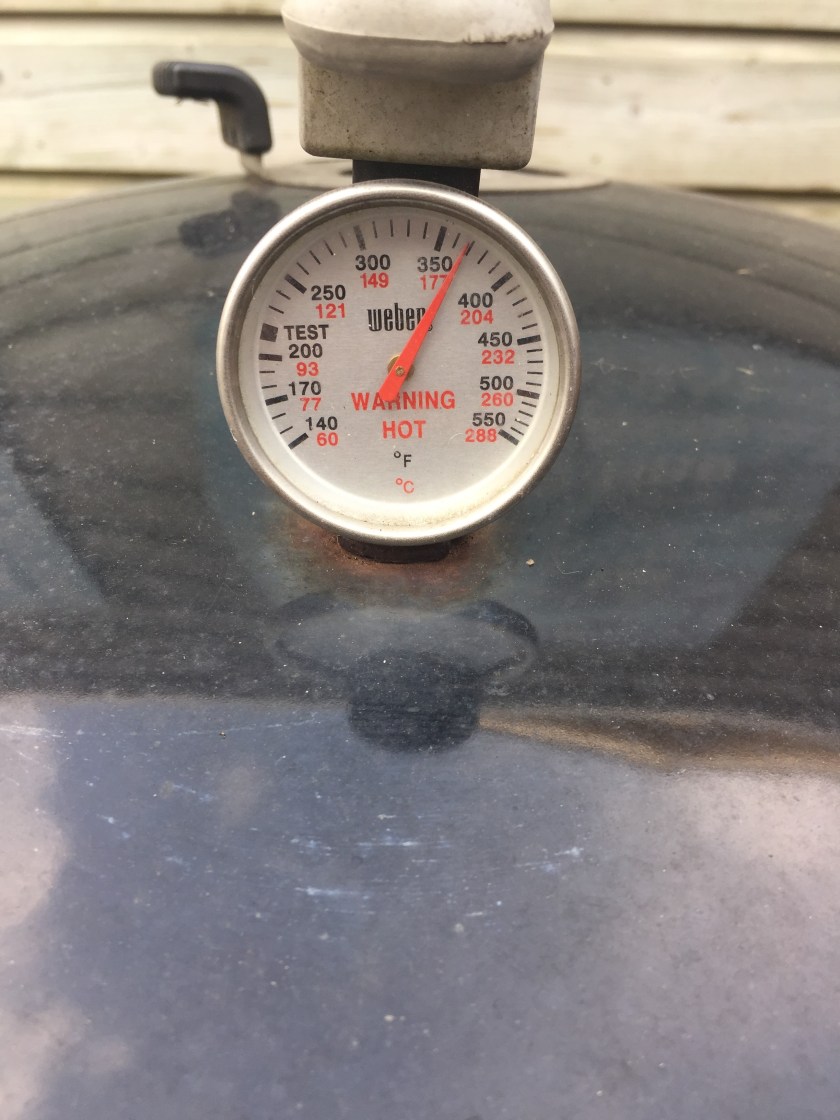
Start by firing it up and prepare for indirect grilling on roughly 180-200 degrees Celcius.

IMG_3203

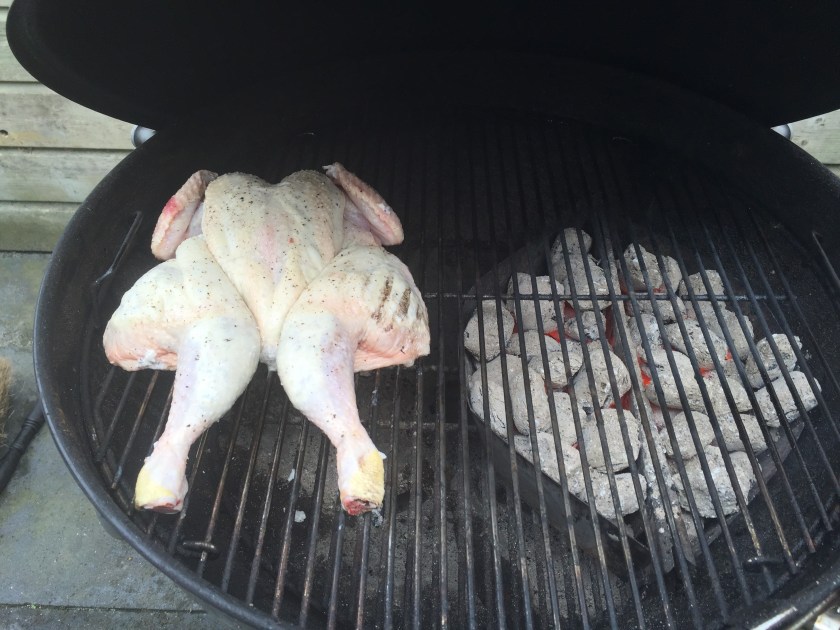
Now take out the chicken and rub it in with some olive oil and season it with salt and pepper.

IMG_3198

IMG_3199

Can’t get it more spot on ;-). Keep it there for the next 1 – 1,5 hours. Place the chicken indirectly on the grill and close the lid up.

IMG_3200

After about 30 minutes, it’s just this. Nothing much, but it’s getting there!

IMG_3202

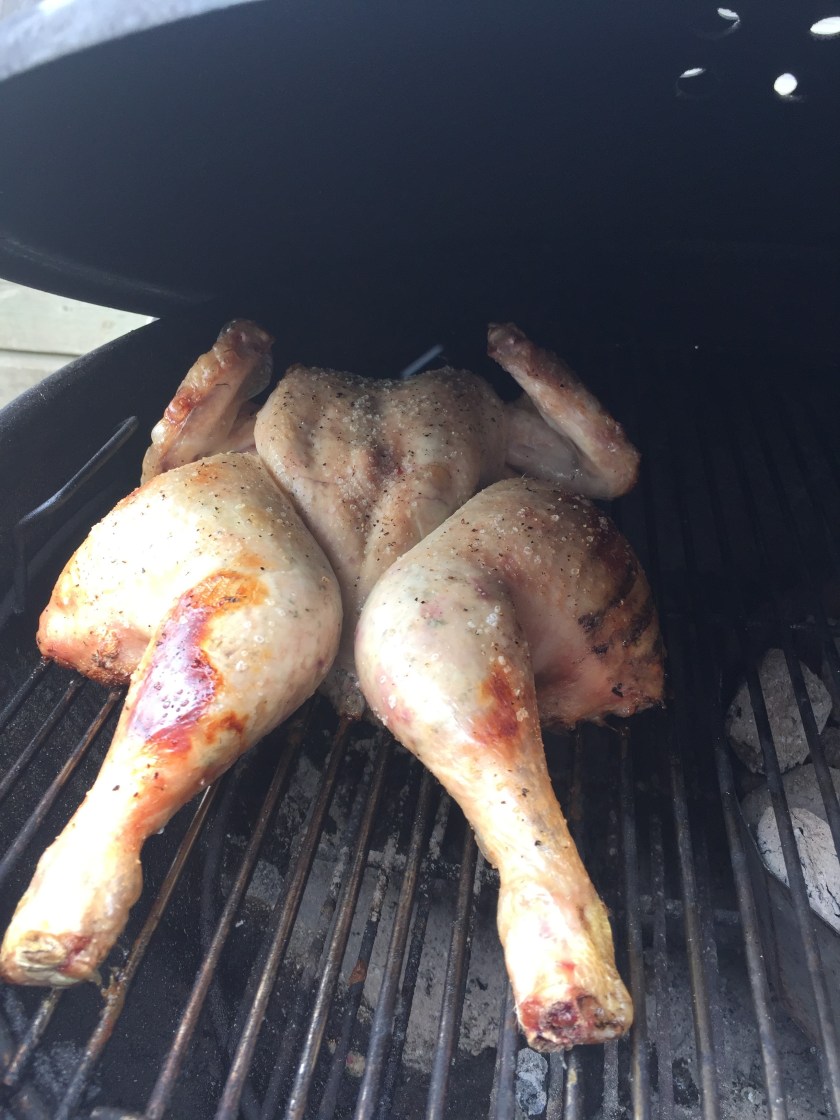
But after about 1 hour, just poke it with a fork and see if the fluids are nice and clearly white, that way you know it the chicken is perfectly cooked.

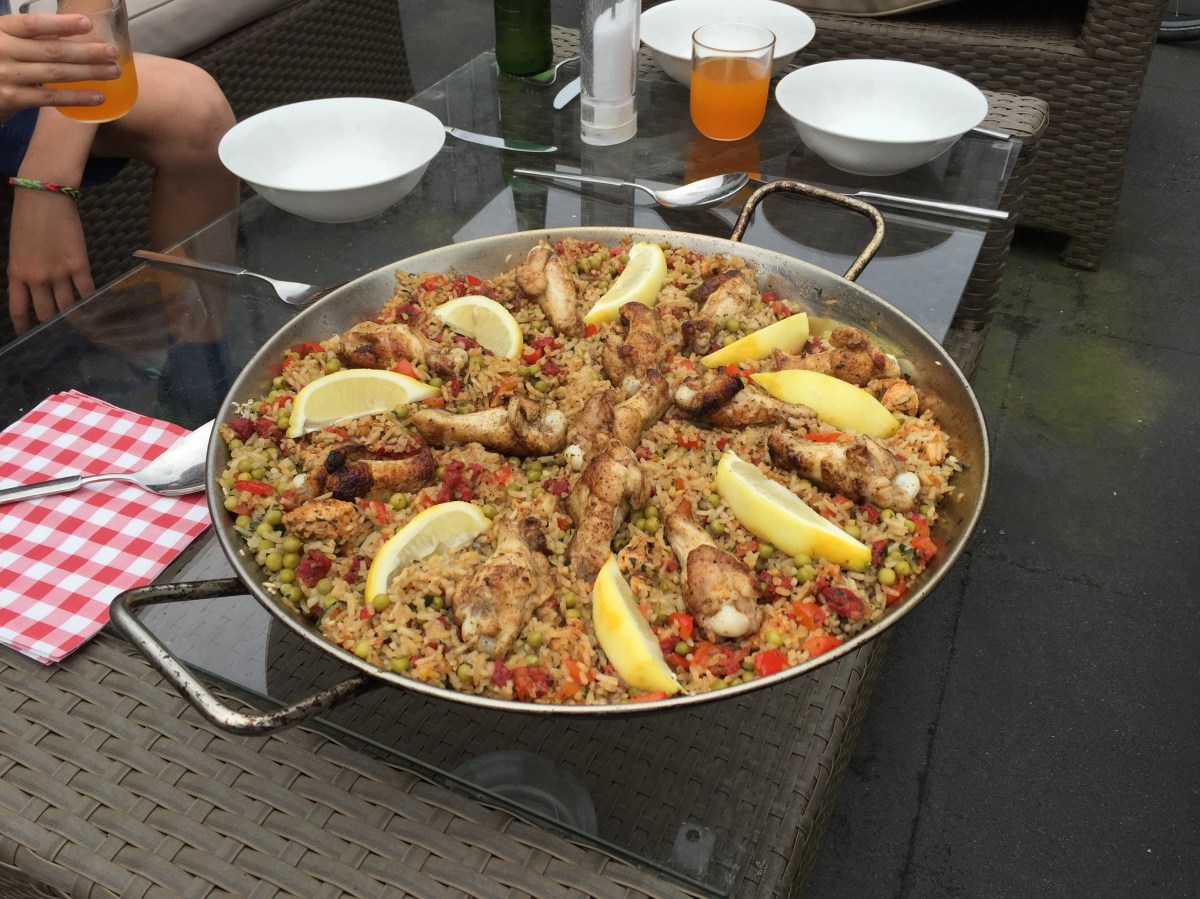
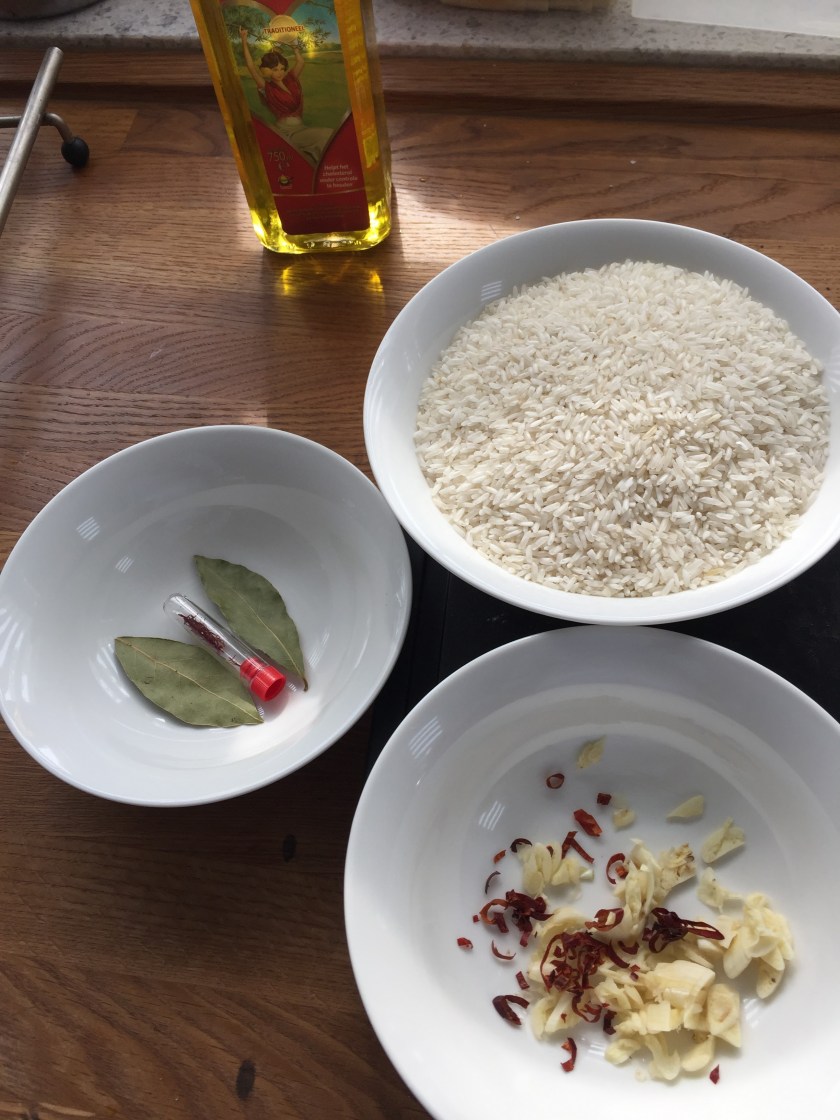
I’ve served it with rice and my very own home made sate sauce. Kids loved it, as always, haha!

IMG_3205

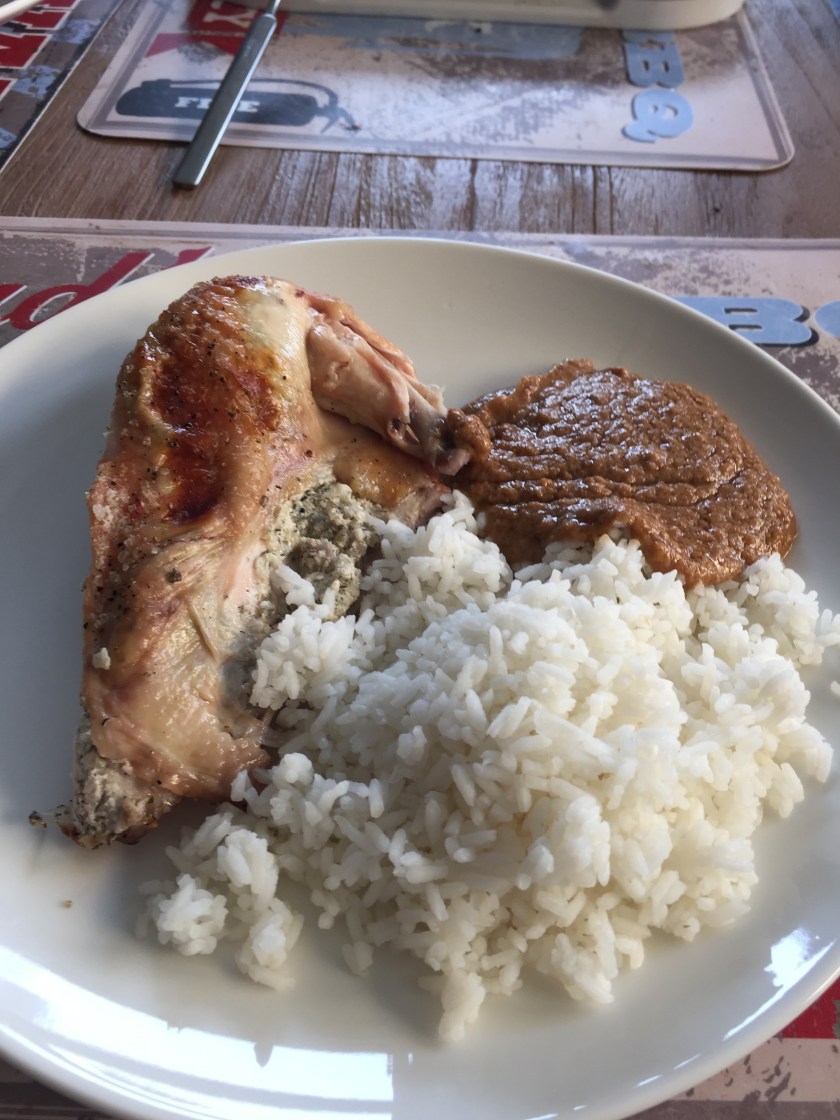
It’s a battlefield, once finished, but it was fantastic! Worth a try if you have some time to spare and a chicken and the rest of the ingredients lying around…

IMG_3206

Enjoy!

Beercan Burgers, yet once again.

it’s been some time since I made these, but they are still soooo easy and definitely one of my favorites. Beercan Burgers (or made with a coca cola can, but it’s probably size that matters 😉 ).

You just need a few things for 2 of these big boys.

  • 300 grams of minced meat (in my case 100% pure beef)
  • 1 egg
  • bread crumbs
  • ketchup
  • 5-4-3-2-1 rub (but any good rub will do)
  • bacon (long slices)
  • chedar cheese (the chewy melty kind of cheap cheese)
  • some grated cheese of a kind
  • 1 red onion
  • 1 green bell pepper (but any colour will do, of course)
  • BBQ Sauce

First start by making the minced meat ready for the can… Mix the minced meat, the egg, a squish of ketchup, a dash or rub and the bread crumbs to a non-stick, non-watery substance. Sounds difficult, but you know it once you’ve got your hands in it.

IMG_3107

I’ve divided this in 2 balls of roughly 150 grams each. Pretty nice size. Then, form balls and once done, press the beercan (or Coca Cola, for the observing people) in the center and form the minced meat neatly around it.

IMG_3108

Now the even more easy part, wrap it with 2 or 3 slices of bacon until it’s nicely packed.

IMG_3110

Now it’s back to cutting up some veggies and making them soft in a pan. You can of course use the BBQ for that too, but mine is not lit yet, so I’ll use the stove for now.

The bell pepper and unions are cut up and softened and I’ve also added a cloaf of garlic. Never hurt anyone. (almost …. depends, I guess, of the situation…)

IMG_3112

Once soft, let cool down, before you put it in the burgers, of course. I’ve also sliced up a few pieces of cheese, due to the lack of grated cheese here on sunday and no open stores around for miles ….

IMG_3113

IMG_3114

Now I’ve added some very little vegetables (cold!) in the burgers and some cheese and I’ve repeated this until it was full, topped of with …. more cheese.

IMG_3119

Now a squeeze of BBQ sauce, mine is ‘sweet baby ray’s’, Hickory and brown sugar. Some sweet touch. I like it, but it’s up to your taste too, of course. You can very easily chop down some peppers in there. Everything you like. Mushrooms will do great too, but I didn’t have any ….

I’ve prepped the grill for indirect grilling on roughly 160 degrees and I’ ve placed my 2 beauties on the grill rack. 45 long minutes of waiting without looking might stress you out, but no fear, all will be well. Just mind the temperature. That’s the most important one.

IMG_3126

After about 30 – 35 minutes I’ve topped them off with a slice of cheddar melting cheese and let it go for the last 15 minutes.

But know, that after 45 minutes of pure agony, you will be left with 2 of those gorgeous pieces of meat and vegetables. You can’t find a better burger anywhere! I’ve ate them with some home made DO bread, and it was delicious! Definitely worth a try!

IMG_3128