Tag Archives: OTP

Grilled trout with green asparagus and roasted potatos

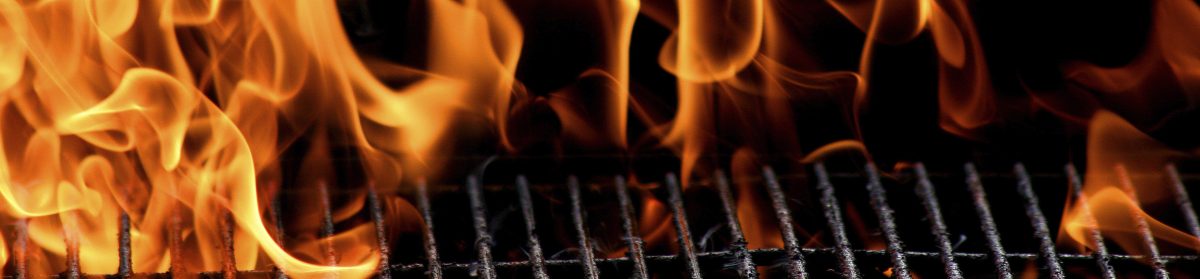
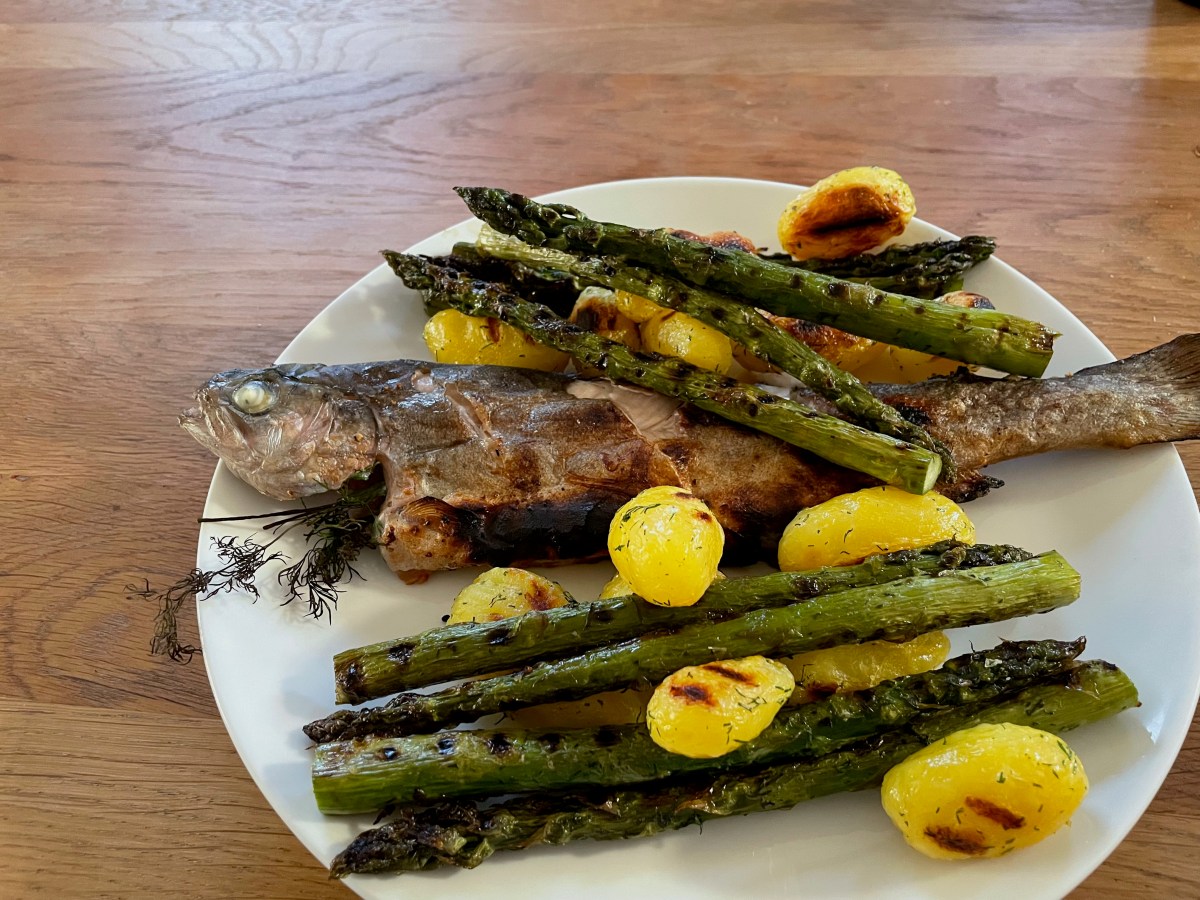
Been some time for me to make a new post here, but it’s that time again, fortunately. I had a nice workout on Stand Up Paddling yesterday, and wanted to enjoy the good weather a little more, so I fired up the old OTP again. Bought some fresh rainbow trouts and was feeling confident. Trout is usually one of my favorites, eventhough there are often a lot of fishbones that stuck to the meat and end up in my mouth, but …. it doesn’t affect taste, and that’s good!

Ingredients

  • 2 fresh rainbow trouts
  • 500 grams (1 pound) of precooked little potatoes
  • 500 grams of green asparagus
  • fresh dille
  • about 50-75 ml of extra vergine olive oil
  • 1 lemon
  • salt and pepper to taste.

First the preparation.

Take 2 teaspoons of chopped dille and add the 75 ml of olive oil. Add a nice bit of salt and a little pepper and mix well into a nice marinade.

So after mixing it well, just add about 2 tablespoons of this marinade to the asparagus and to the potatoes as well, and mix it through.

Now start with the trouts. They were bought cleaned, so I just washed them out a little with fresh water and dried the skin with a towel. Now I’ve cutted into the sides a few times with a large kitchen knife and added salt and pepper to both sides and the inside as well.

After salting and peppering it, I’ve added 2-3 slices of lemon and a few branches of dille in there, before putting it into my fish grate for the BBQ.

Now, I’ve prepared everything I need, I just need to fire up the Q and pre-heat the oven on about 50 degrees celcius. (you’ll know why later on)

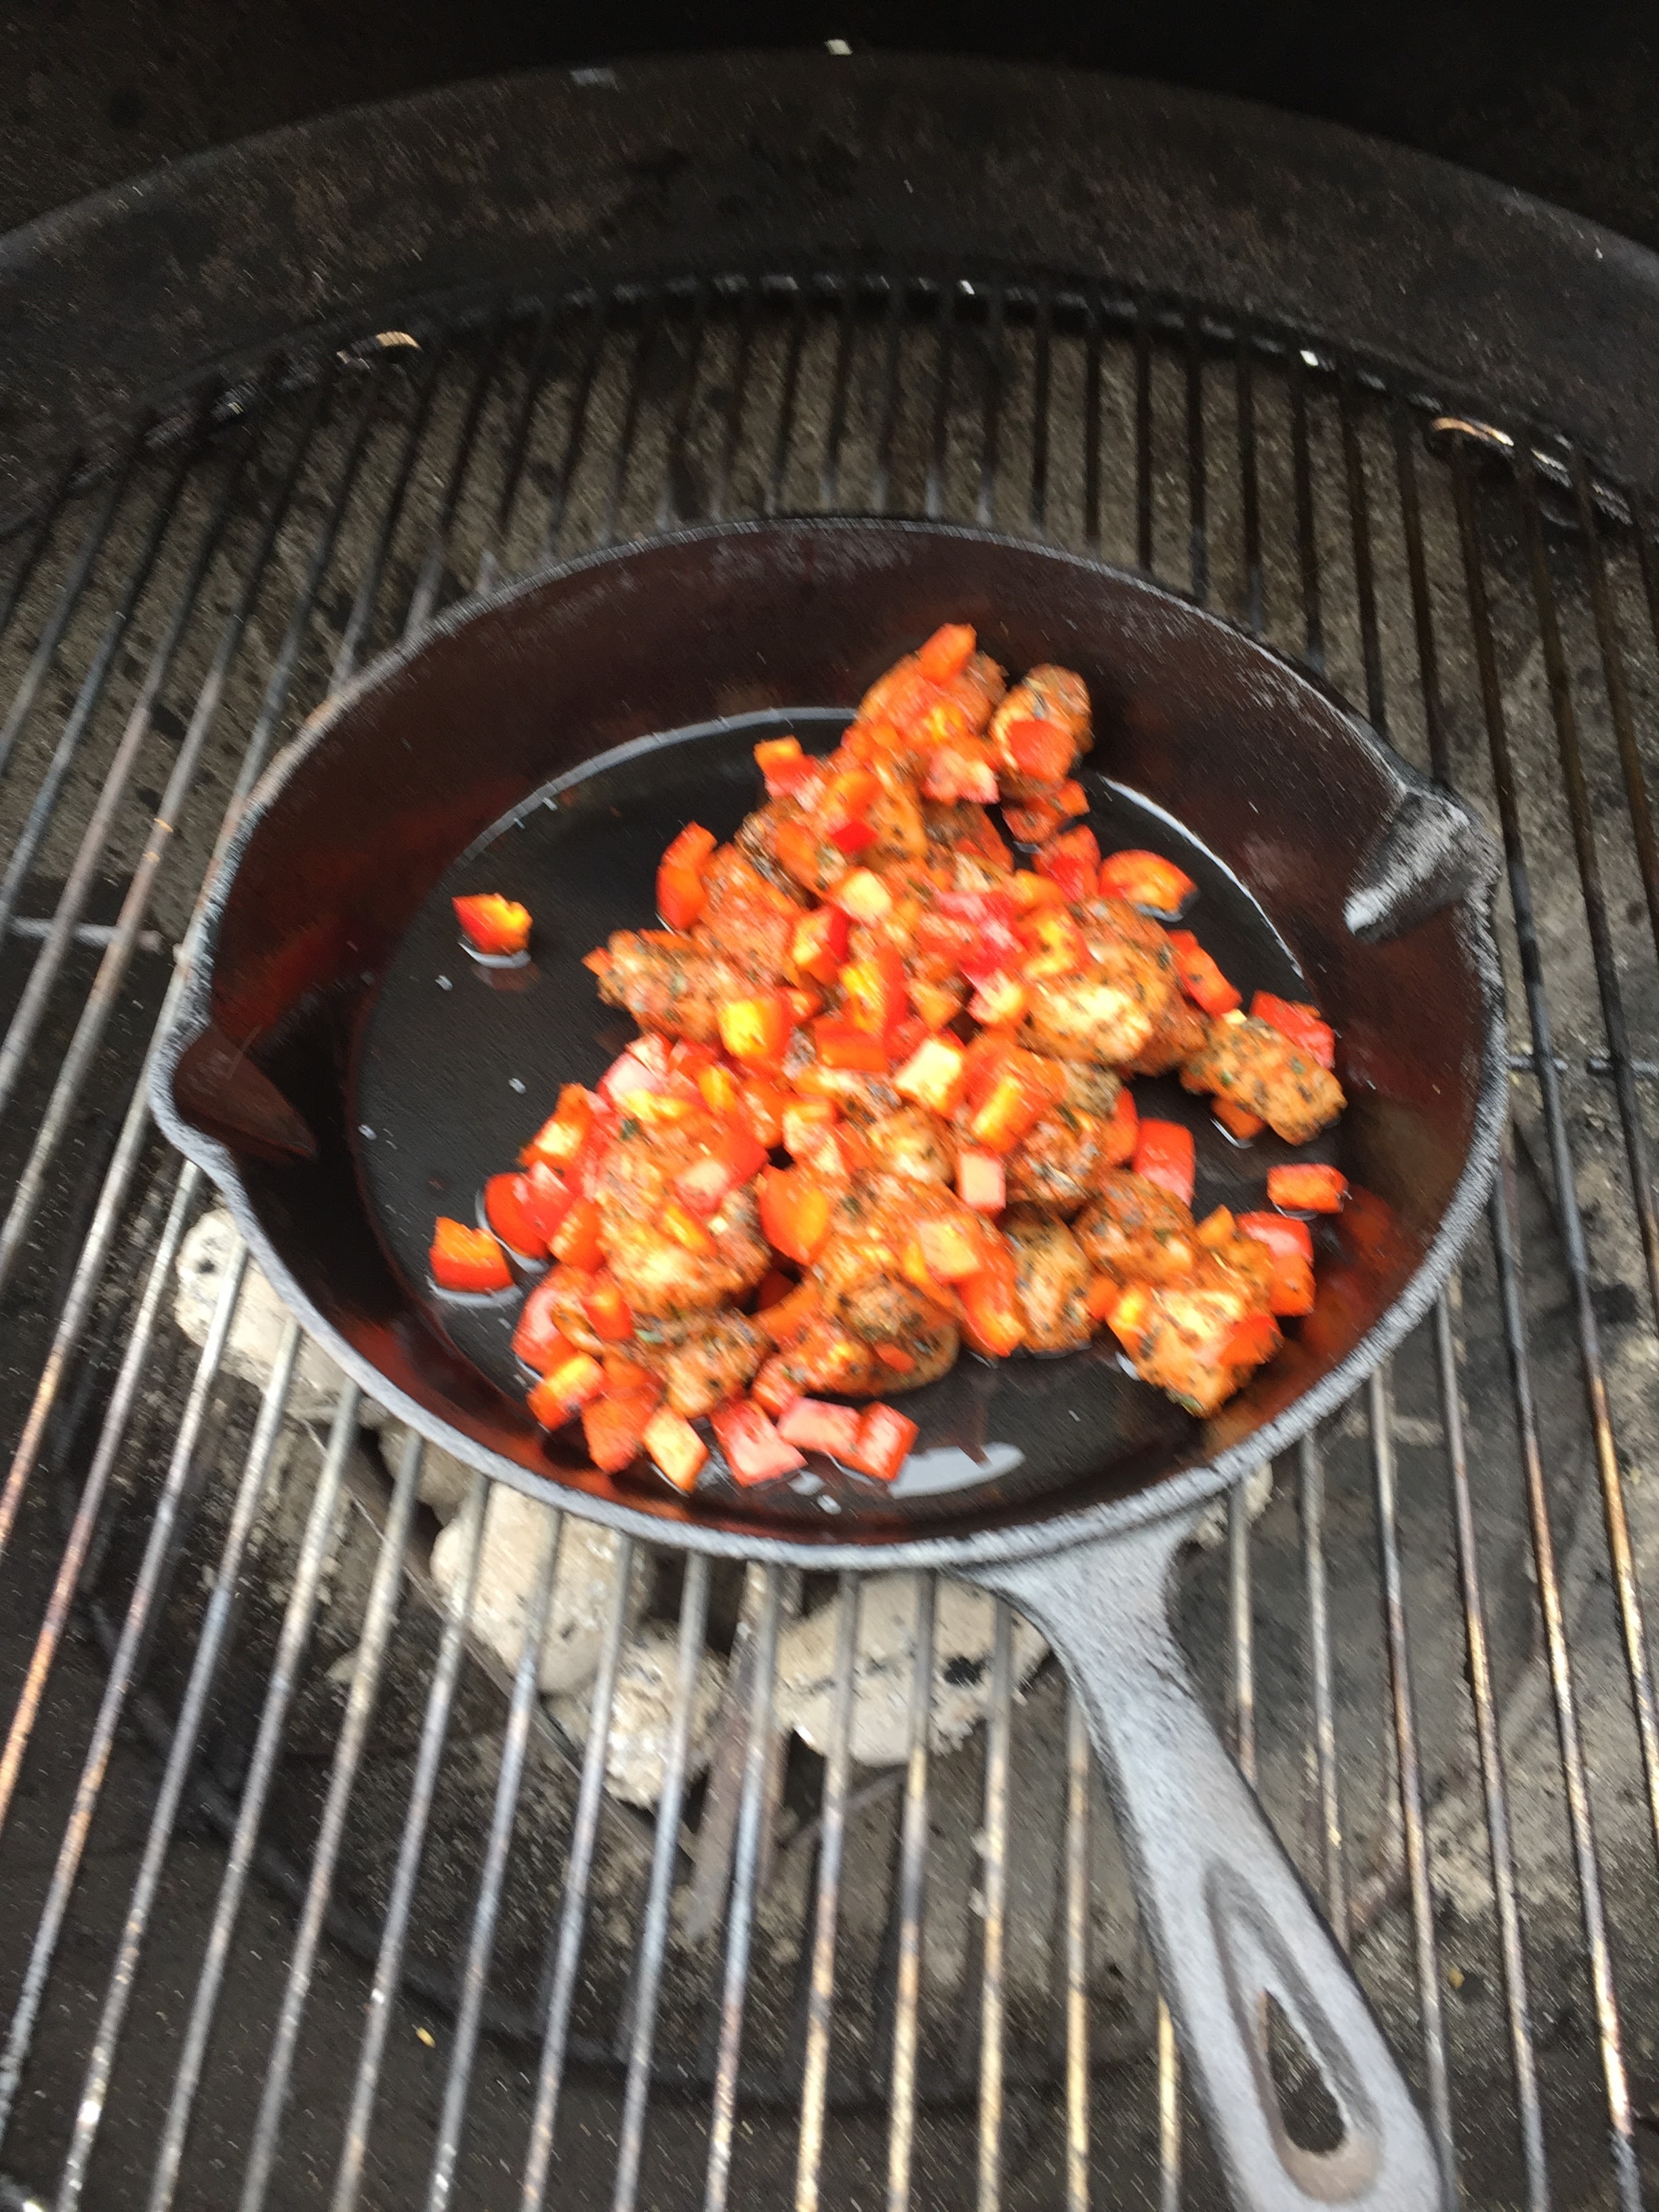
I’ve used a grill pan over direct coals to grill the potatoes in about 20 minutes, while turning them over every 5-10 minutes, giving them a nice grill mark style cook, and did the same with the asparagus, except a lot shorter, of course.

The trout only needs about 5-6 minutes per side, but while doing that, I’ve kept the potatoes and asparagus warm in the pre-heated oven. (told you I’d explain later 😉 )

Served and ready to be enjoyed!

rack of lamb in spicy herbs

Today, since it’s officially spring (although the weather is not really working with us here….), I’ve done a nice rack of lamb.

To make the spices to rub it with I’ve used my homemade rub for lamb. I’ve oiled up the racks and sprayed a nice layer of rub on it, and after that I covered the remaining bone parts with aluminum foil to make sure it wouldn’t burn.

I’ve prepared my OTP for indirect grilling and grilled it first until there was a nice crusty part, all around. I started with the meat side, as this is the most fatty part.

After the nice crusty part, just move it to indirect, and insert your core temperature sensor (or thermometer), and let it go with the lid closed until you’ve reached a nice core temp of about 68 degrees (for medium, I guess). Some like it a little rarer, and to be honest, everything above 55 degrees (Again, Celcius, my readers, not Fahrenheit), is nice! Just grill it to your own perfection. Don’t blame me, please.

Once done, I’ve only had to remove the foil and cut it up and we had a great meal. I also did some grilled red and yellow bell peppers to accompany it. It was really good!

St. louis style pork chops

Well, it was about that time to do some bucketlist things. The weather was nice, it was about 17 degrees (Celcius, my friends, not Fahrenheit…) outside, and I had a nice pork neck, comparable to the US pork butt, laying around. St. Louis style would say; Cover everything in BBQ sauce and grill it, but I decided to give it a little twist from my dutch BBQ inspiration Noskos.

First of all, I’ve cutted up the meat in slices of about 1 inch (2 cm) thick. Not really important, the size, but I wouldn’t want them to be too thin.

slices of pork neck

After that, I’ve applied a bit of oil, to make the rub stick, and applied my home-made basic bbq rub to it. Just apply a nice thick layer of it.

After this seasoning, I’ve set it aside for a few hours in a ziplock bag, just to get some flavors in it.

Time to grill. First of all, the OTP was setup for 2 zones. (direct, indirect) and I grilled the pieces of pork for a few minutes over direct heat to get them seared up and to give a nice grill-flavor at the end.

Once that’s done, I’ve set an oven-dish up in the indirect part and added a bottle of alcoholfree beer with Citrus taste (but any beer would do, of course, play around yourself) and my home made BBQ sauce, and added the pieces of meat until they were almost all covered. If the sauce is not enough, just add a little more beer and sauce to it.

Now I’ve covered it up wit aluminum foil and let it go on 150-160 degrees Celcius for a nice hour of simmering.

After this hour of steaming in it’s bath of sauce and beer, I’ve removed the foil and turned the pieces so all parts of it can get the great flavours in it.

Now let it go for another 30 minutes of open-air grilling at 160-180 degrees to reduce the moist a little and finish the pork chops.

Once done, you have the best pork and a very tasty gravy to go along.

I’ve served it with some mashed potatoes made of sweet potatoes and some beans, but that’s up to you. The gravy and sweet potatoes we’re a killer combi and the meat was succulent and awesomly tasty!

Super simple and great and honest eating!

Chicken paella from the grill

Love the versatility in a piece of chicken. Today I decided to make paella with it. Kids don’t want to eat shrimps or clamps, but chicken and chorizo is always a good proposal. Mis-en-place is a pain, but once ready, you can make a good paella pretty easy. Here’s how and what.

Needed :

  • 1 tablespoon of smoked paprika powder
  • 2 teaspoons of dried oregano
  • salt and black pepper to taste
  • 200 gram of boneless chicken
  • garlic
  • 2 cups of paella rice (or whatever rice you have at hand, of course. Short grain)
  • 1 teaspoon of dried chili rings
  • 1 tube of saffran threads
  • 2 bay leafs
  • loads of flat leaf parsley
  • 1 liter of chicken stock
  • 1 zested lemon
  • 1 onion
  • 1 red bell pepper
  • 250 grams of chorizo
  • 250 grams of divided chicken wings

Seems like a lot, but don’t worry. step-by-step it’ll get easier.

First, start by cutting up the boneless chicken into small cubes and put the in a bowl, together with a chopped up pepper, the paprika powder, oregano and some salt and pepper. Mix well and set aside (preferably refrigerated) for later use.


IMG_3210

IMG_3211

IMG_3212

IMG_3213

IMG_3214

Now you can start of by cooking and grilling, while cutting things up on the go, but I prefer to do everything up front in the kitchen and have it ready when needed.

I’ve started by letting my youngest son mix up some olive oil and a nice chicken rub in a bowl. They will go first later on.

IMG_3216

Now, I’ve started to chop the garlic and add the crushed chili rings.

IMG_3217

I’ve also prepped the bay leafs and the safran, and measured out the rice. No big deal, but easy enough to work with once you start on the BBQ. Temperature is quite high, so walking of to do some cutting is too much time and you’re food will burn.

I’ve removed the plastic outside of the chorizo and crumbled it into a bowl too.

IMG_3218

IMG_3219

Created a liter of chicken broth, ready to go.

IMG_3220

And setup most of the stuff on a tray next to the table. Now the grilling and combining starts.

IMG_3221

I’ve started by heating up some 2 – 3 tablespoons of olive oil in the paella pan. Once hot, I’ve added the garlic and chili and the rice too. Keep stirring the rice until it’s nicely covered in oil and it gets slightly crispy.

IMG_3223

Now add the stock, bay leafs, safran and the zest of the lemon and (try to) bring down the temperature to a medium heat and let it boil into the rice itself. I’ve closed the lid and closed the air vents almost all the way, and it took me about 15 minutes to have the rice ready.

IMG_3226

I’ve whisked it through and set that aside for later use.

The second part is getting a new pan on and heating up some oil again (apparently very important for paella…. ), and bake the chicken / pepper mixture, with the onion added until nice and brown and then add the chorizo and keep stirring until the oil releases from the chorizo, creating some great flavor for the paella.

IMG_3227

IMG_3228

IMG_3229

The mixture is now whisked through the cooked rice and I’ve topped it off with the divided wings and the lemon slices from the one we used for the zest.

IMG_3230

Bon appetit, or in spanish, Buen apetito!

IMG_3231


Grilled chicken with sour cream

Chicken, chicken, chicken. I’ve done it a milion times, but I wanted something else today. Time the kids learn the true meaning of different flavours. I’ve been thinking and using the internet, and I’ve found something I (and the kids) really love.

Grilled butterflied chicken with a sour cream under the skin. Not the easiest to do, but a great taste and good moisture.

To start with the sour cream semi-stuffing, you just use the following.

  • 3/4 cup of sour cream
  • 1/4 cup dice red onion, although I’ve used about twice that amount.
  • 2 cloves of garlic
  • 1 teaspoon of dried oregano
  • 1 teaspoon of dried dill
  • 1/2 a teaspoon of salt
  • 1/2 a teaspoon of black pepper

First, put the sour cream in a bowl and add the dried oregano and dill. Stir well and enjoy the smell. It smells great already.

IMG_3180

After this, I’ve chopped up 2 red onions and the garlic and put that in the blender. (lazy me, I know, but yeah. I just have the thing, so not using it is even worse, I guess). About 3 seconds later it’s done.

IMG_3177

IMG_3178

IMG_3179

Scoop it through the mixture and add the salt and pepper.

IMG_3181

IMG_3183

IMG_3185

Now put it aside and begin a new and uncharted journey into butterfly chicken….

To properly butterfly a chicken, you just have to remove the spine. Not that hard, if you have to correct tools for it, but with a simple knife, this can be tricky. I use a good pair of bone scissors. Love the thing!

I’ve started by cutting of the wing tips, as there is no meat on it whatsoever, and they tend to burn pretty quickly, not looking nice on your beautiful hot chick.

IMG_3168

Place the chicken, back up, bottom facing yourself on a board and start cutting it, alongside the spine, al the way up to the neck.

IMG_3169

IMG_3170

IMG_3171

Now repeat that step on the other side of the spine and remove the thing altogether. You can use it for some stock or just throw it away. You’re choice. I’ve threw it away.

IMG_3172

IMG_3173

Now the fun part. Turn it back with the open side down and press down on the breast part until you hear 2 bones snap. This is the wishbone that either breaks or snaps out of place, allowing for a much more flat chicken.

IMG_3174

Once butterfly’d, or butterflied, (not sure, as I’m not native english …. 😉 ), start by pushing your fingers gently between the skin and the flesh and release it from the flesh, al the way down to the legs and back. It’s kind of an addictive job, as it feels pretty nice to do so …. or is that just me. The wings I left alone, since that would be too much to get the skin loose from. Just be careful not to puncture or break the skin.

Now, start spooning the opening up with the created sour cream and massage it all the way through. Nice job, that might take up some time too.

IMG_3186

IMG_3188

IMG_3187

After this nice massage of this good looking chick, just wrap it in and refrigerate it for at least 1 hour (preferably overnight), and take it out once you’re ready to go grilling.

IMG_3189

The grilling part is the easiest, of course, as allways.

Start by firing it up and prepare for indirect grilling on roughly 180-200 degrees Celcius.

IMG_3203

Now take out the chicken and rub it in with some olive oil and season it with salt and pepper.

IMG_3198

IMG_3199

Can’t get it more spot on ;-). Keep it there for the next 1 – 1,5 hours. Place the chicken indirectly on the grill and close the lid up.

IMG_3200

After about 30 minutes, it’s just this. Nothing much, but it’s getting there!

IMG_3202

But after about 1 hour, just poke it with a fork and see if the fluids are nice and clearly white, that way you know it the chicken is perfectly cooked.

I’ve served it with rice and my very own home made sate sauce. Kids loved it, as always, haha!

IMG_3205

It’s a battlefield, once finished, but it was fantastic! Worth a try if you have some time to spare and a chicken and the rest of the ingredients lying around…

IMG_3206

Enjoy!