Beercan Burgers, yet once again.

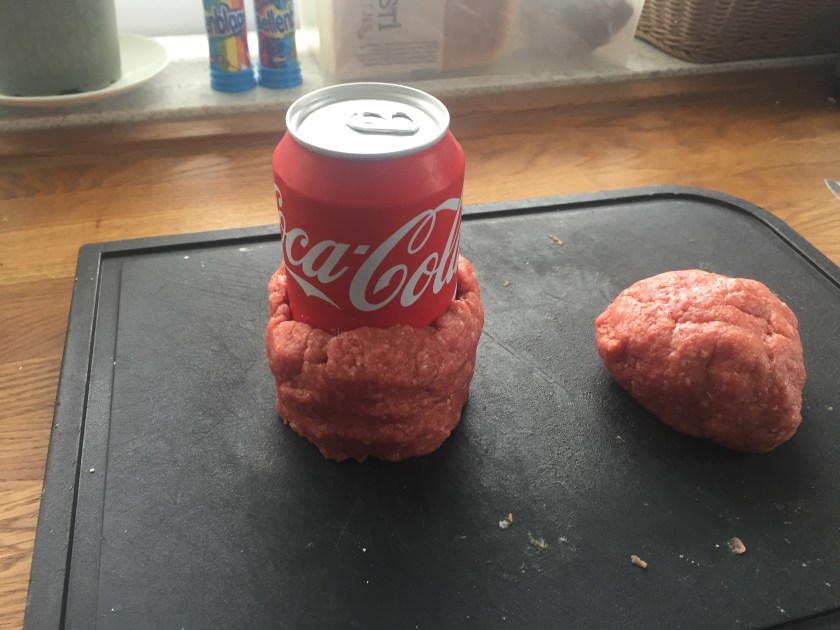
it’s been some time since I made these, but they are still soooo easy and definitely one of my favorites. Beercan Burgers (or made with a coca cola can, but it’s probably size that matters 😉 ).

You just need a few things for 2 of these big boys.

  • 300 grams of minced meat (in my case 100% pure beef)
  • 1 egg
  • bread crumbs
  • ketchup
  • 5-4-3-2-1 rub (but any good rub will do)
  • bacon (long slices)
  • chedar cheese (the chewy melty kind of cheap cheese)
  • some grated cheese of a kind
  • 1 red onion
  • 1 green bell pepper (but any colour will do, of course)
  • BBQ Sauce

First start by making the minced meat ready for the can… Mix the minced meat, the egg, a squish of ketchup, a dash or rub and the bread crumbs to a non-stick, non-watery substance. Sounds difficult, but you know it once you’ve got your hands in it.

IMG_3107

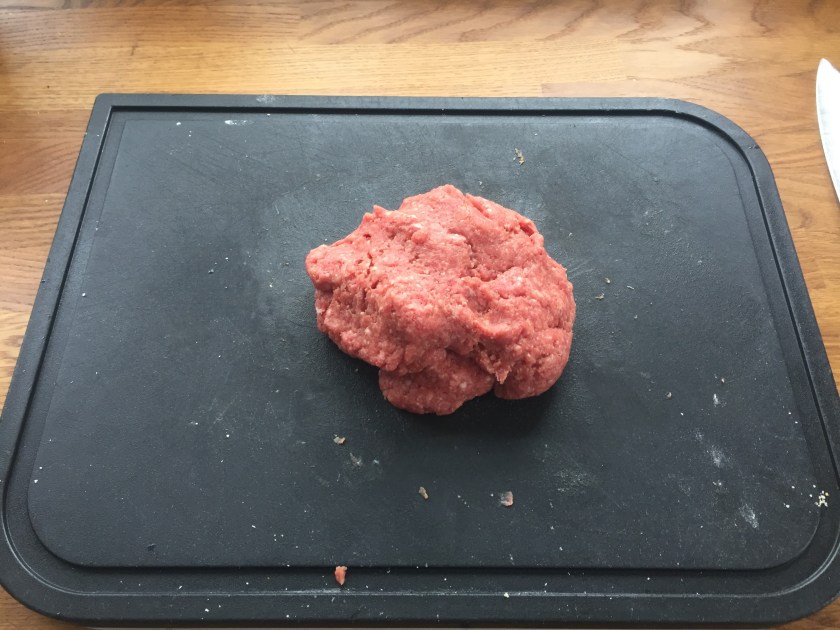
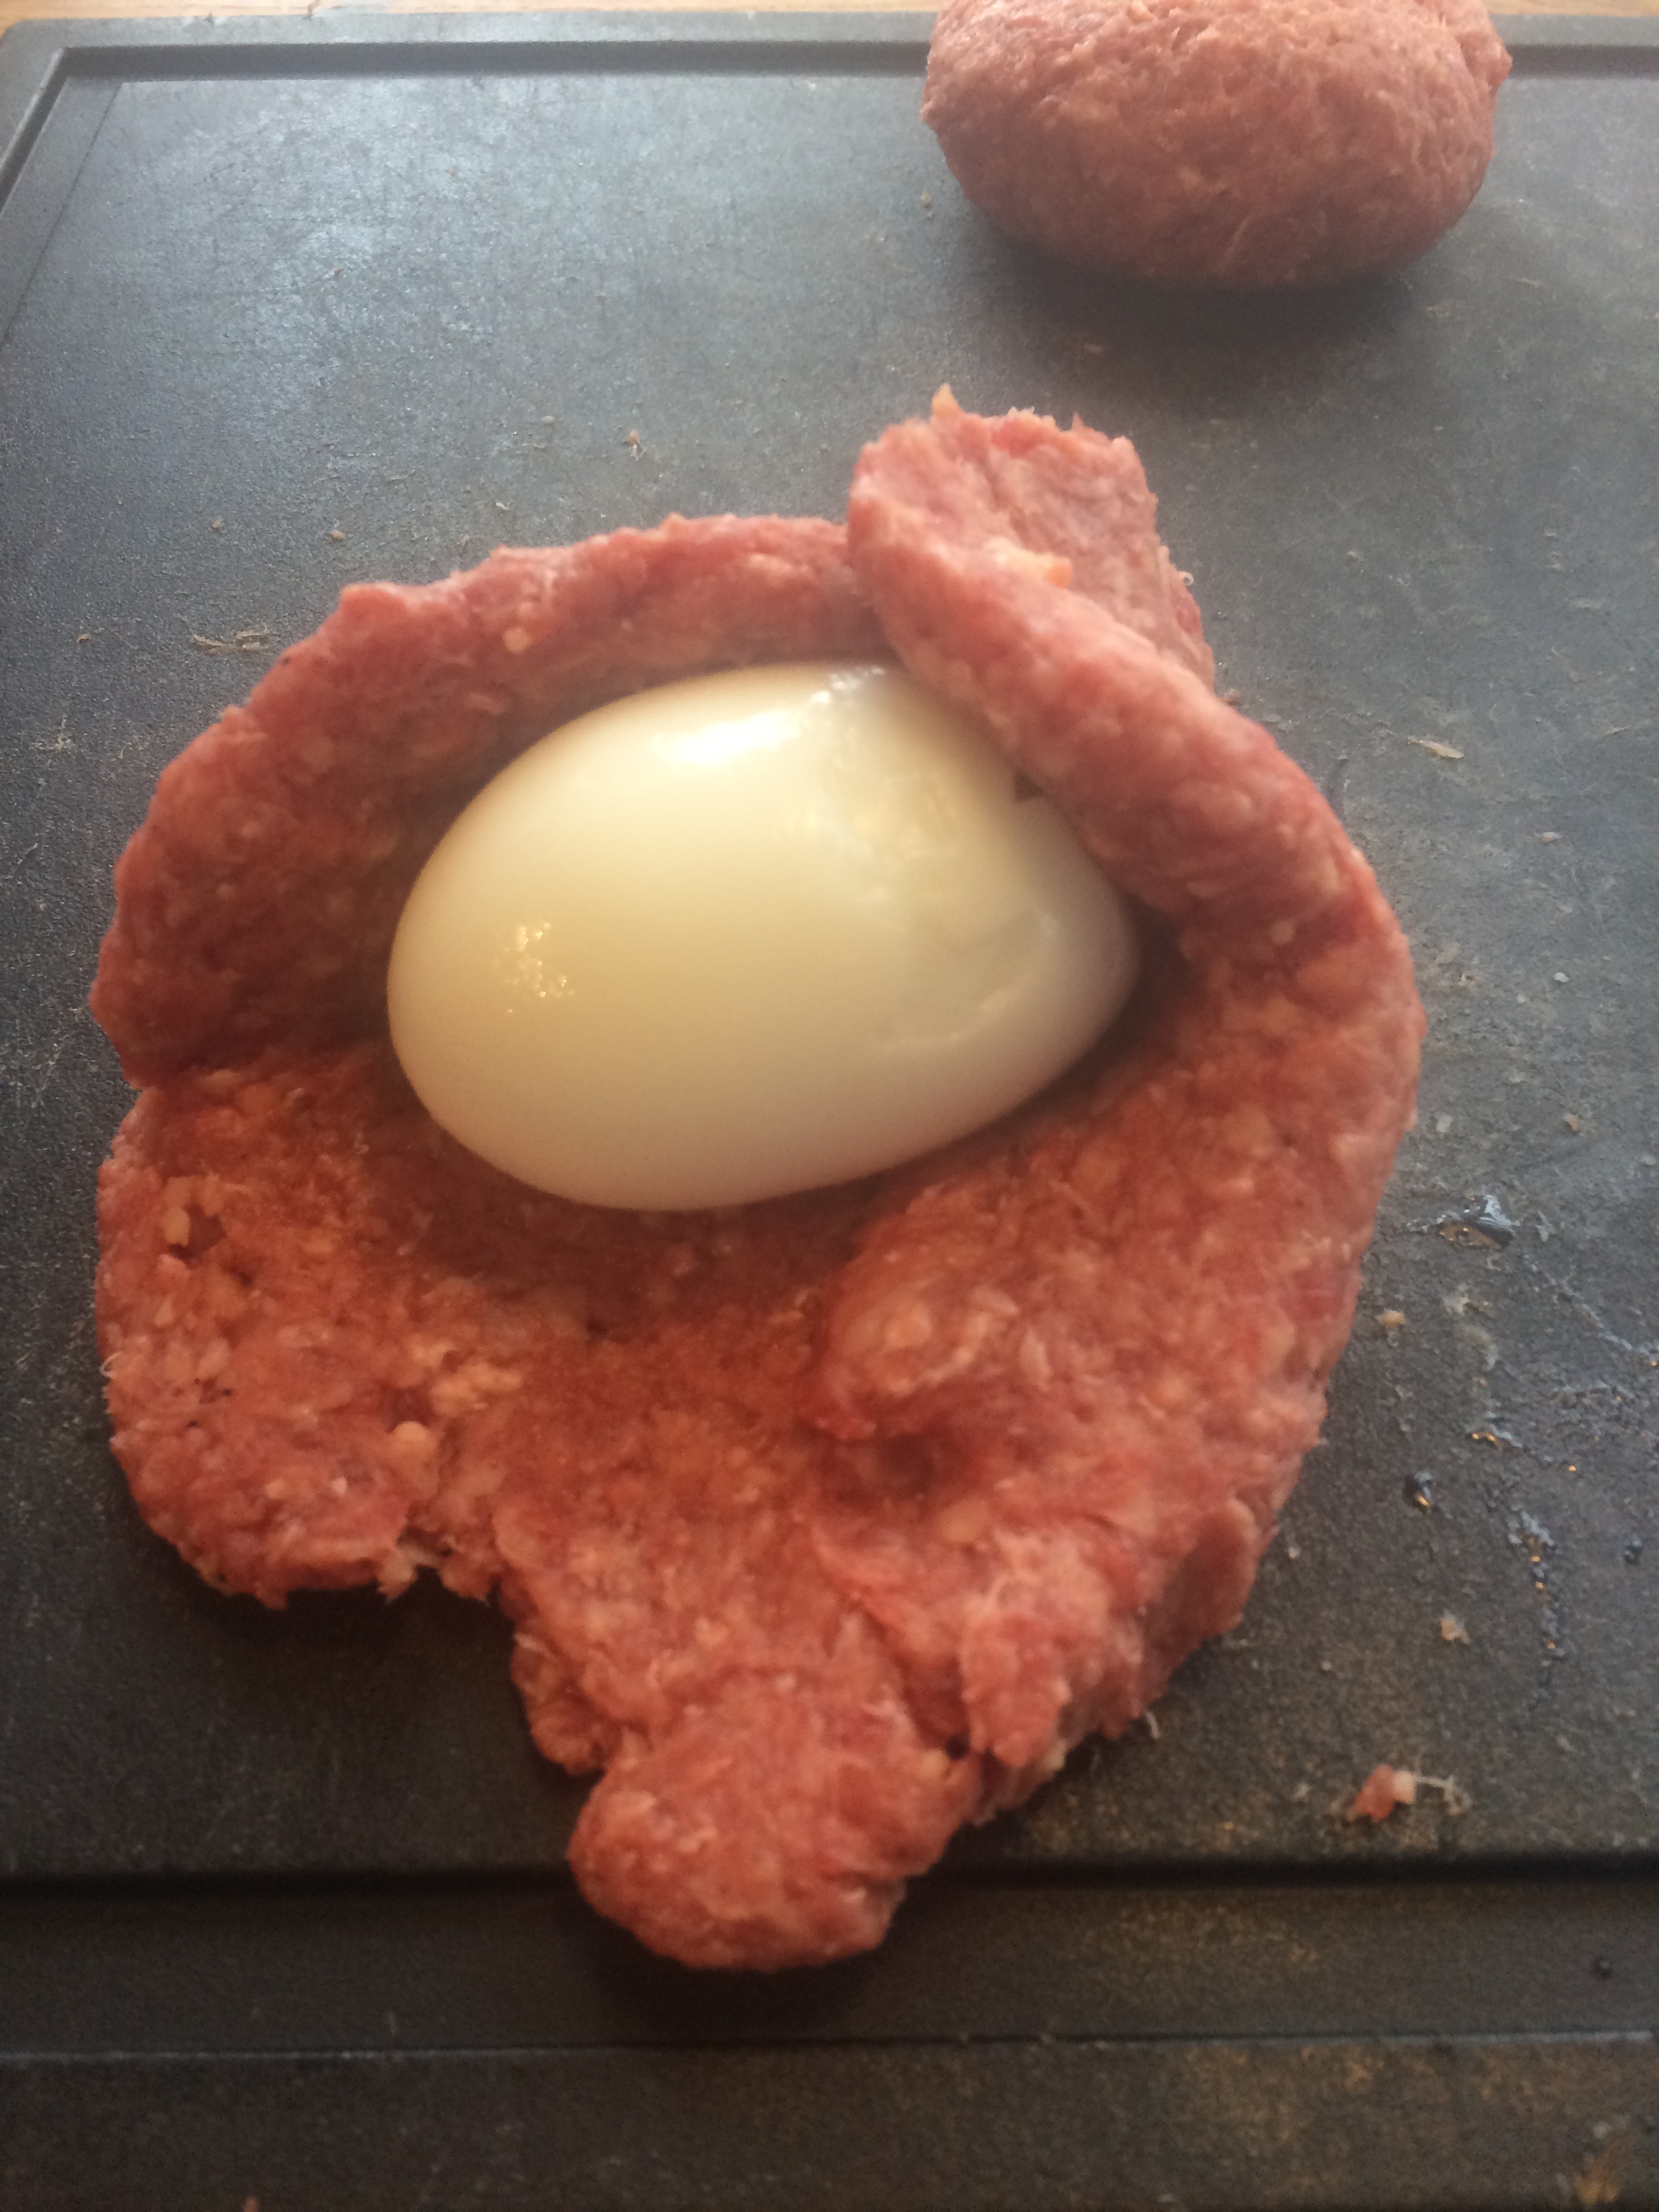
I’ve divided this in 2 balls of roughly 150 grams each. Pretty nice size. Then, form balls and once done, press the beercan (or Coca Cola, for the observing people) in the center and form the minced meat neatly around it.

IMG_3108

Now the even more easy part, wrap it with 2 or 3 slices of bacon until it’s nicely packed.

IMG_3110

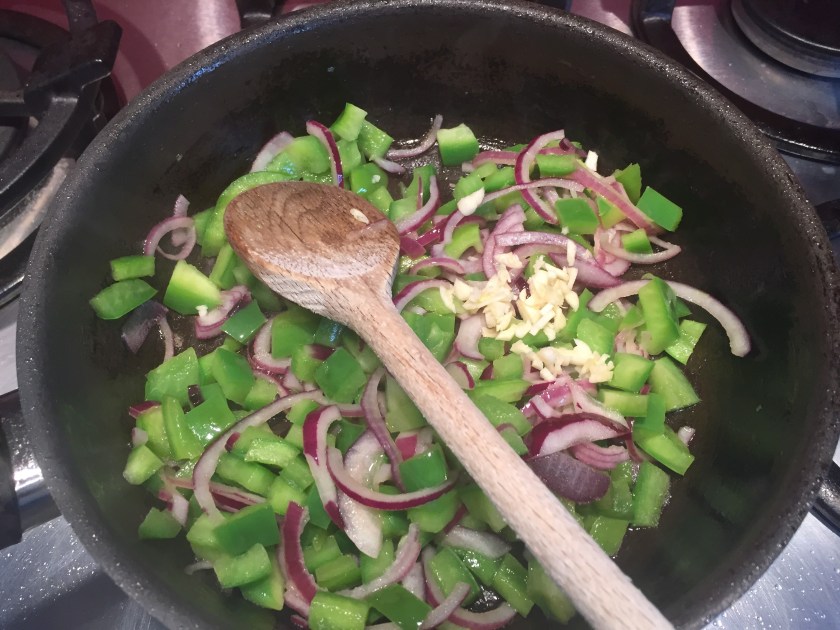
Now it’s back to cutting up some veggies and making them soft in a pan. You can of course use the BBQ for that too, but mine is not lit yet, so I’ll use the stove for now.

The bell pepper and unions are cut up and softened and I’ve also added a cloaf of garlic. Never hurt anyone. (almost …. depends, I guess, of the situation…)

IMG_3112

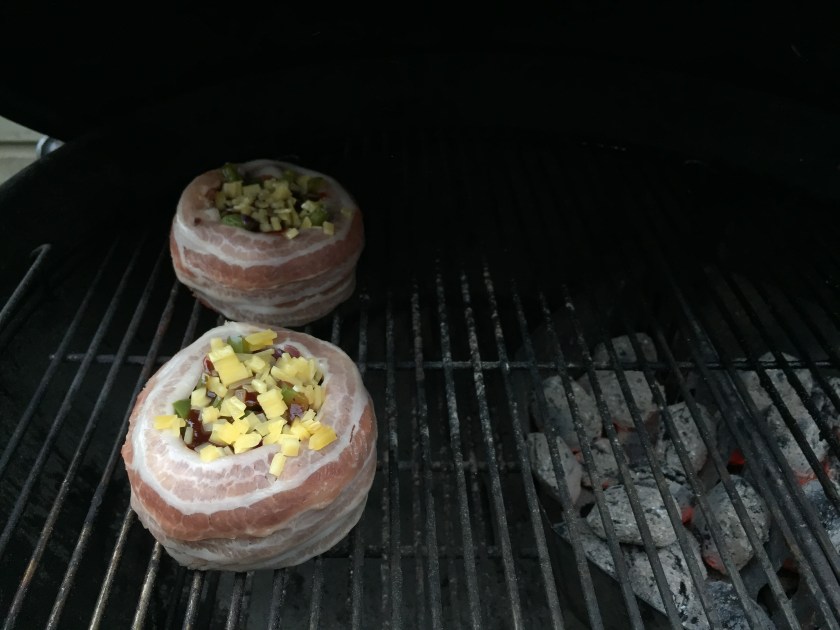
Once soft, let cool down, before you put it in the burgers, of course. I’ve also sliced up a few pieces of cheese, due to the lack of grated cheese here on sunday and no open stores around for miles ….

IMG_3113

IMG_3114

Now I’ve added some very little vegetables (cold!) in the burgers and some cheese and I’ve repeated this until it was full, topped of with …. more cheese.

IMG_3119

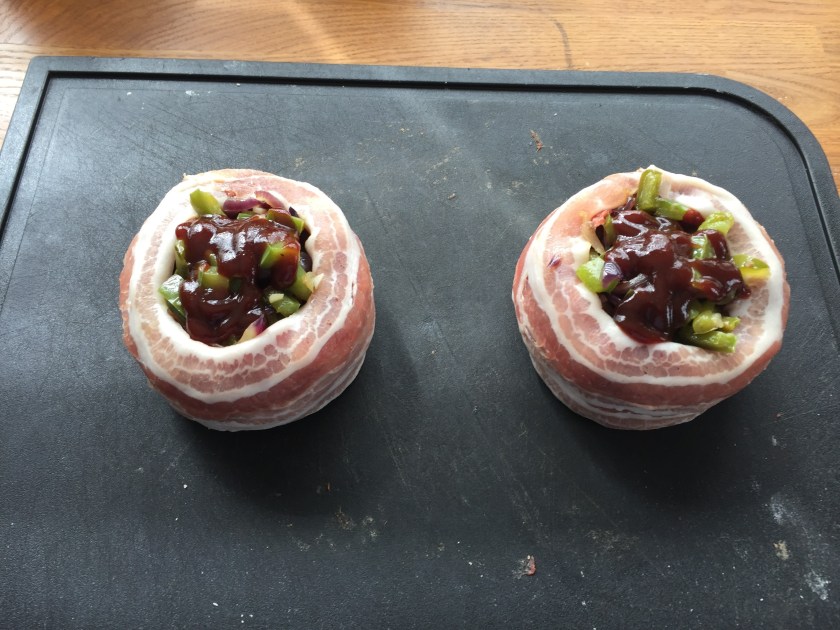
Now a squeeze of BBQ sauce, mine is ‘sweet baby ray’s’, Hickory and brown sugar. Some sweet touch. I like it, but it’s up to your taste too, of course. You can very easily chop down some peppers in there. Everything you like. Mushrooms will do great too, but I didn’t have any ….

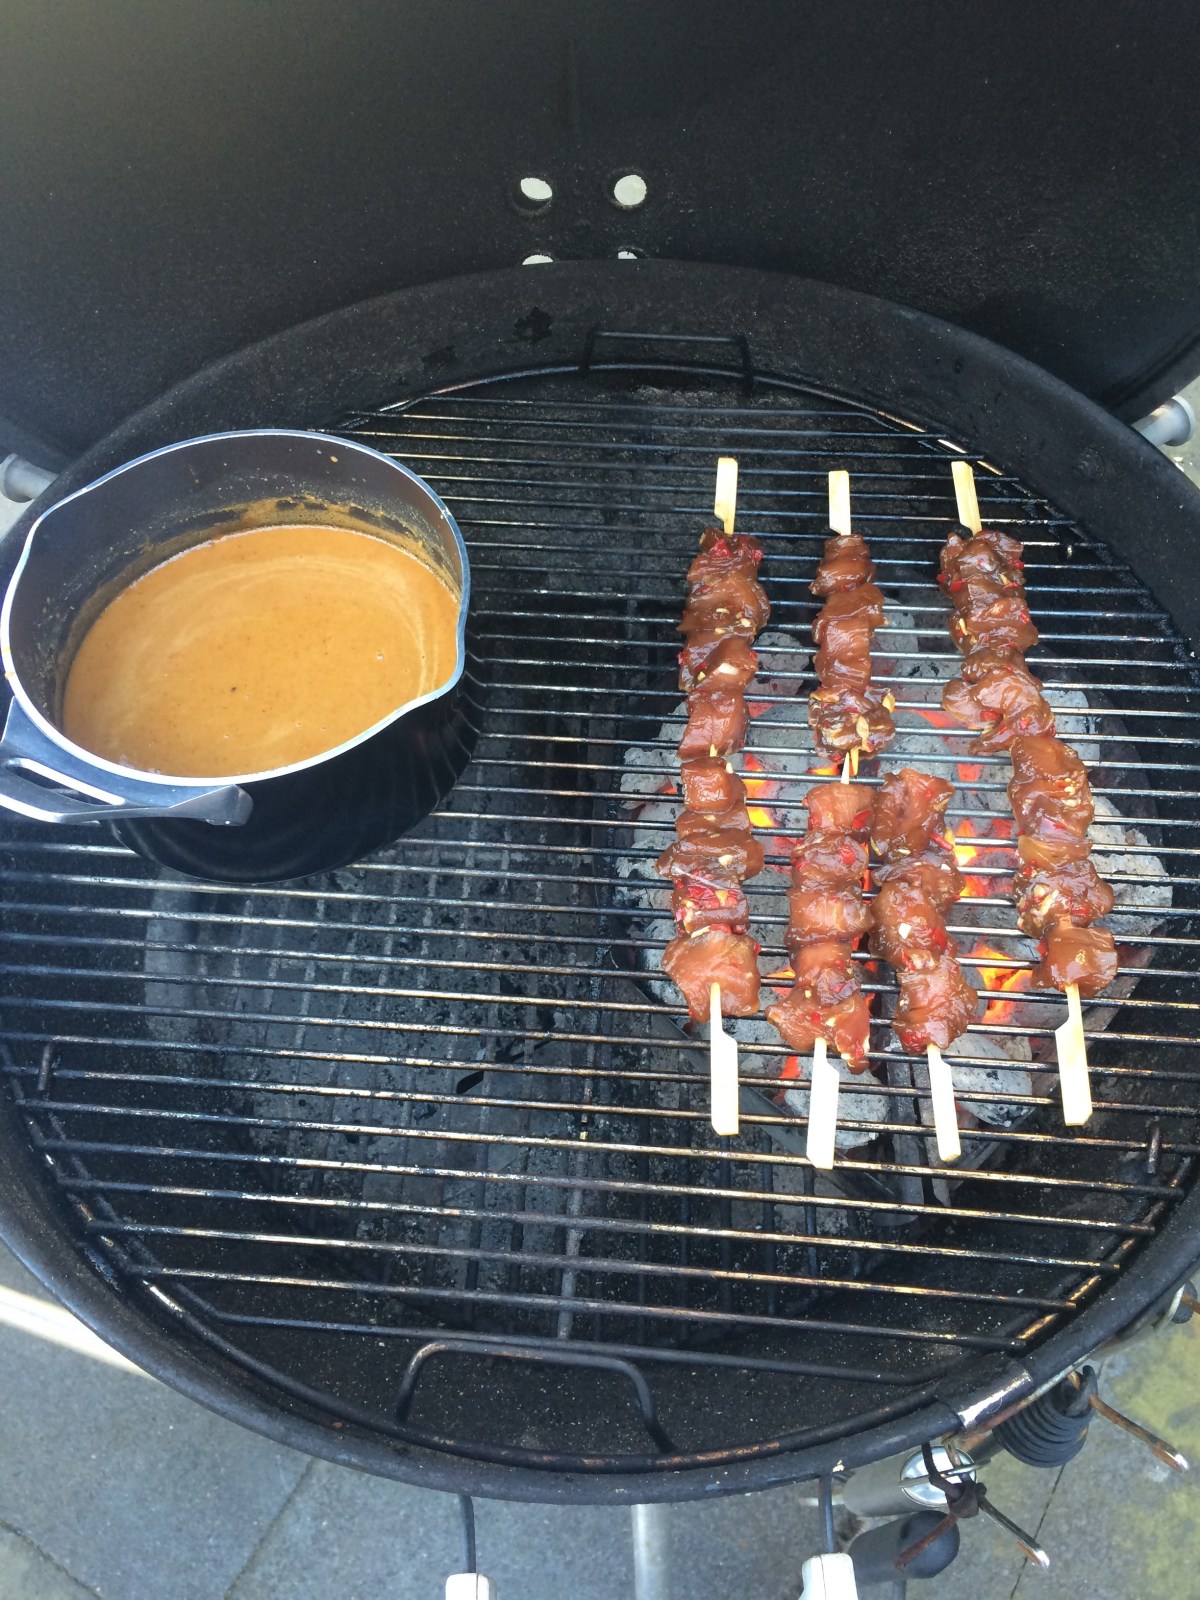
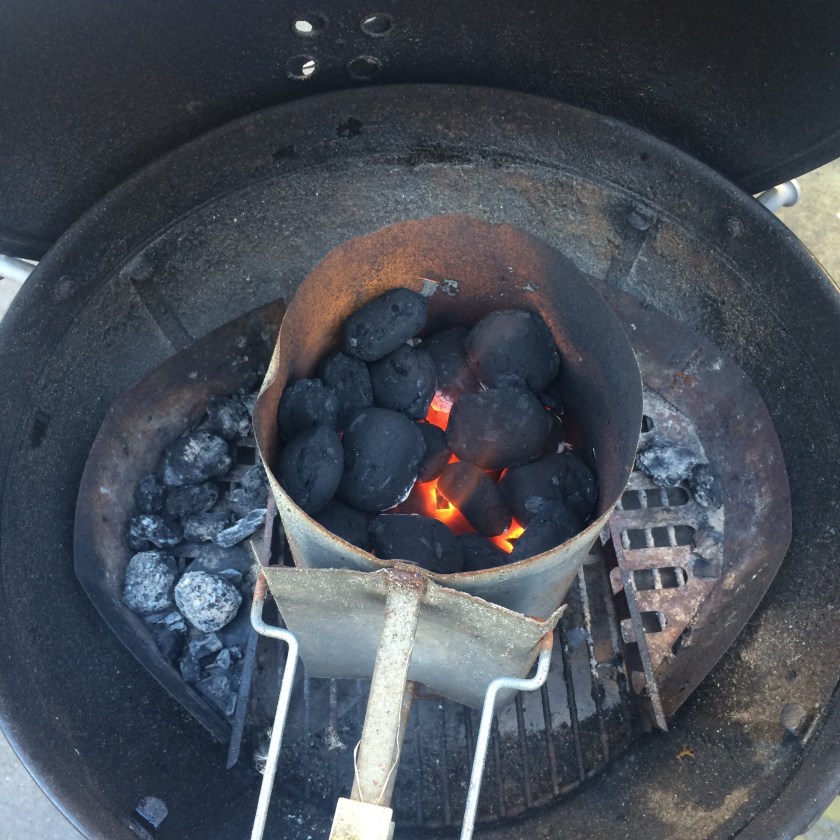
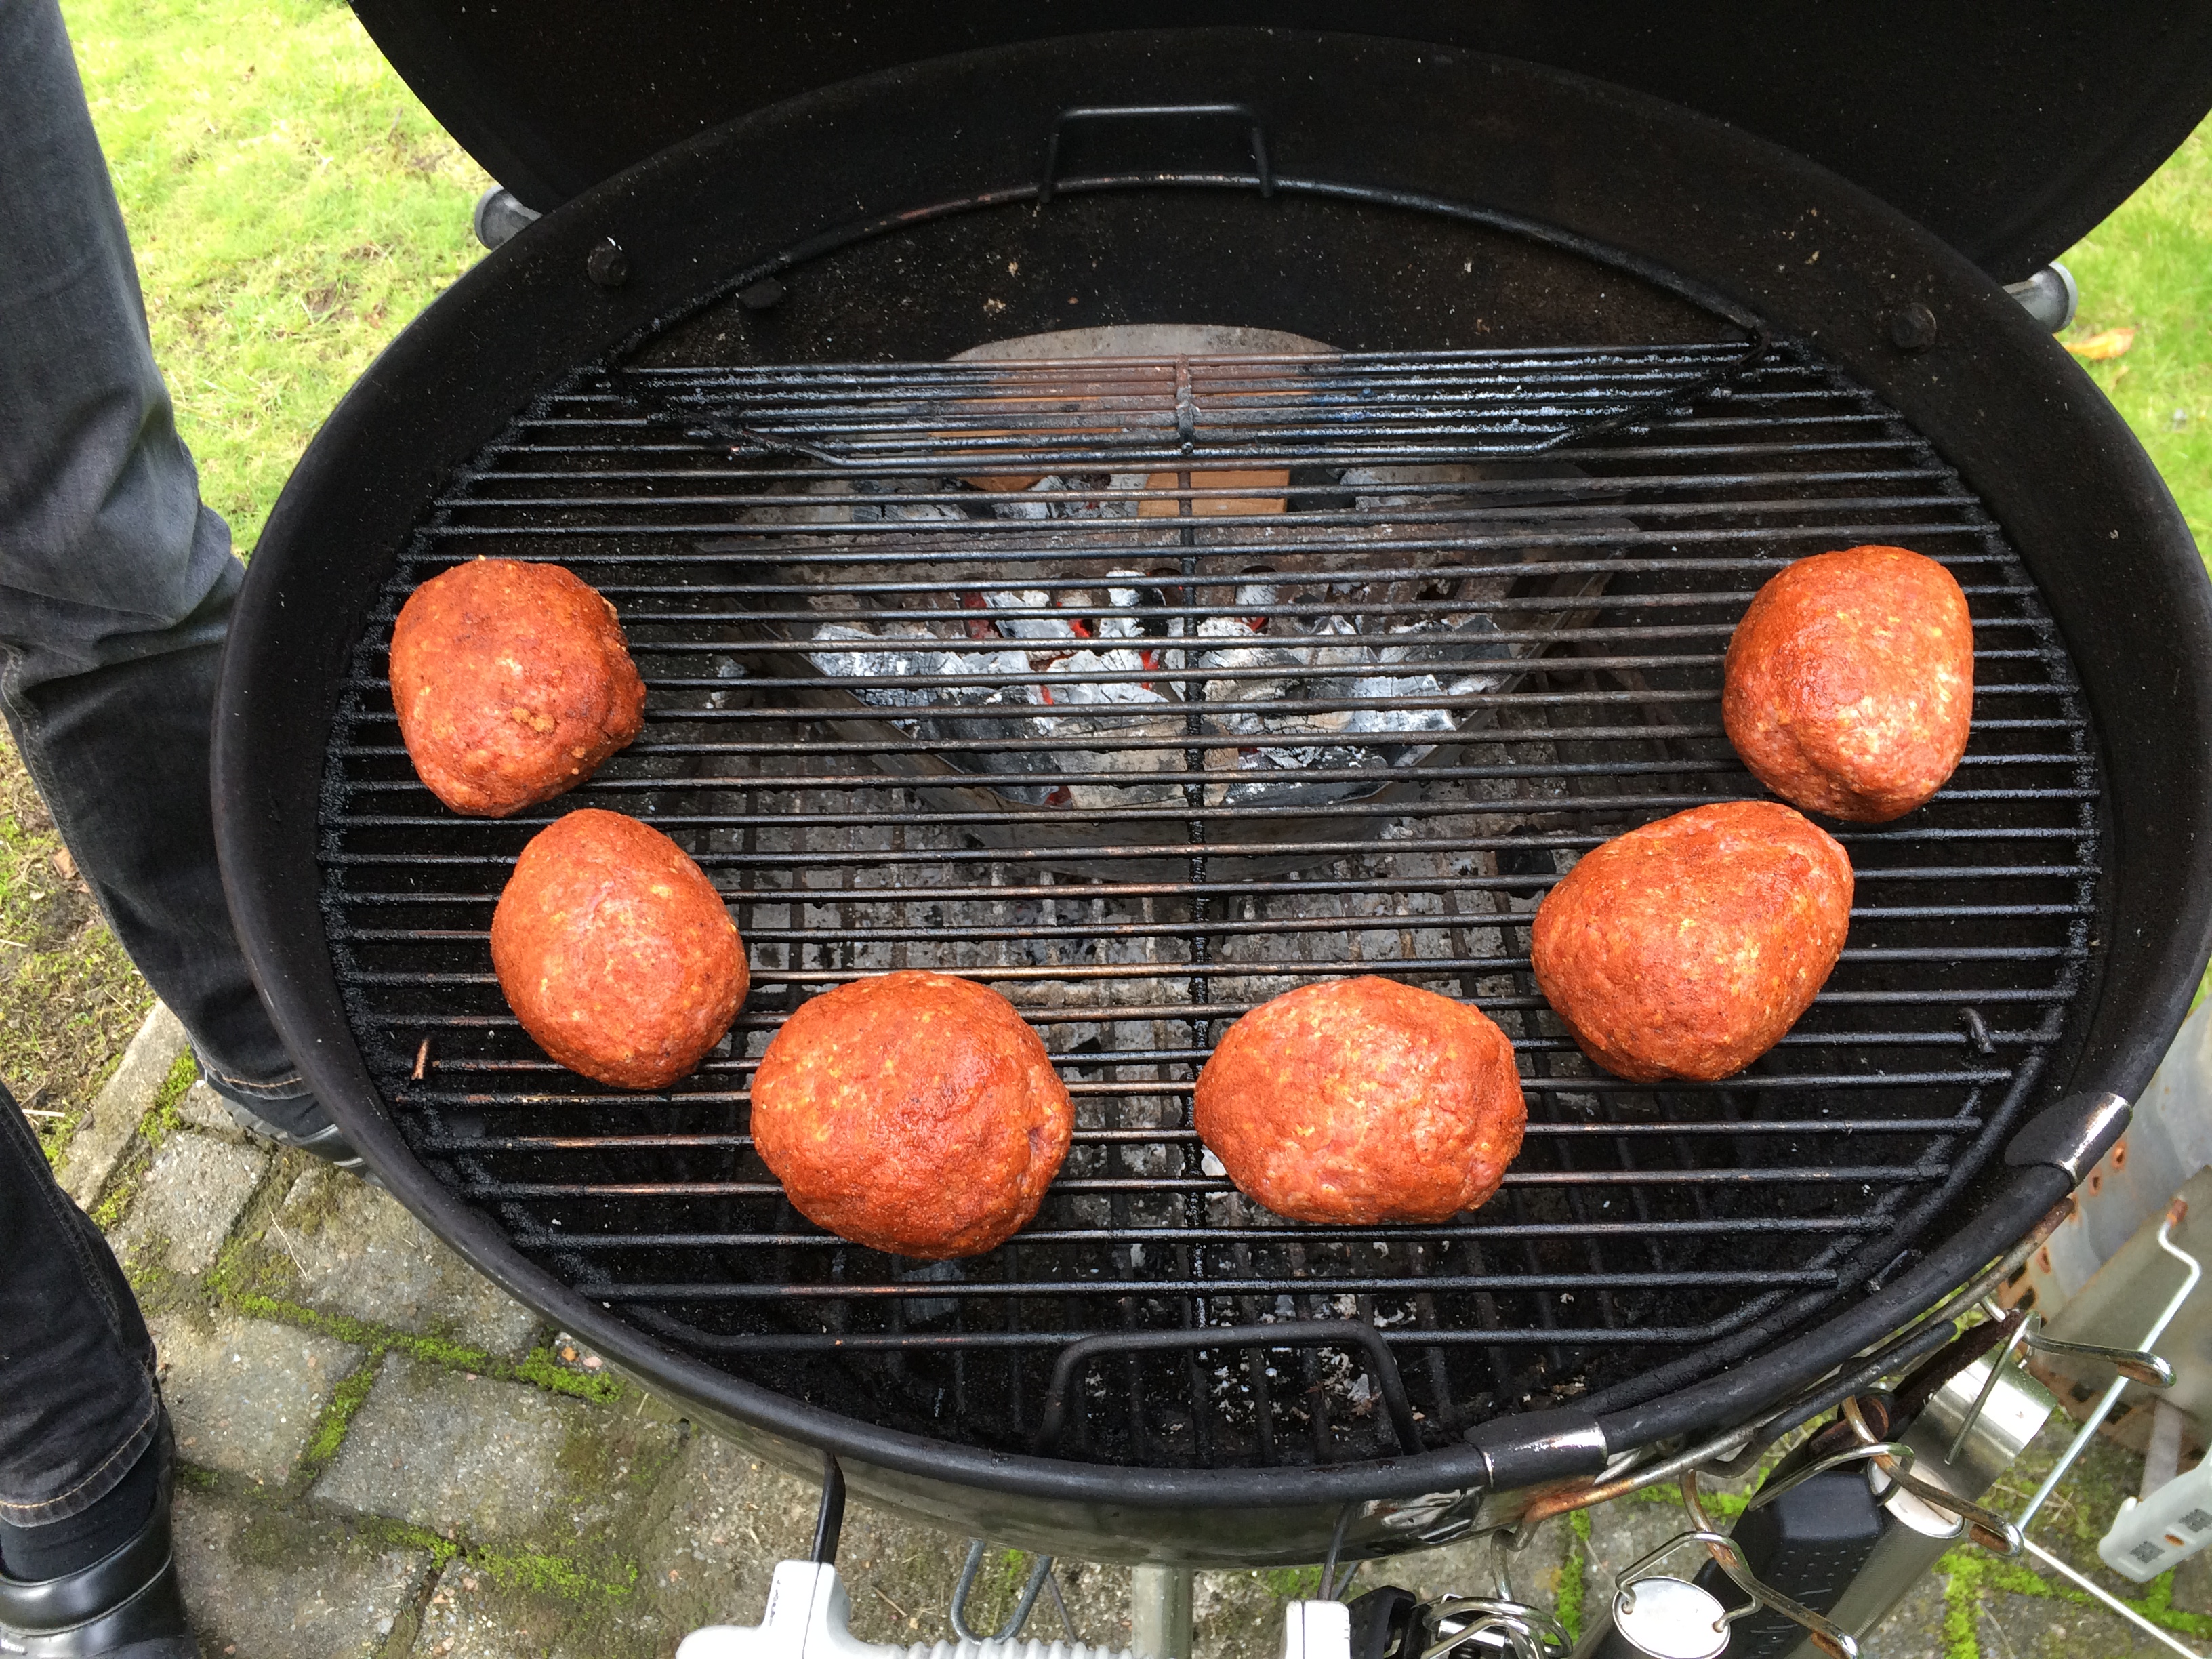
I’ve prepped the grill for indirect grilling on roughly 160 degrees and I’ ve placed my 2 beauties on the grill rack. 45 long minutes of waiting without looking might stress you out, but no fear, all will be well. Just mind the temperature. That’s the most important one.

IMG_3126

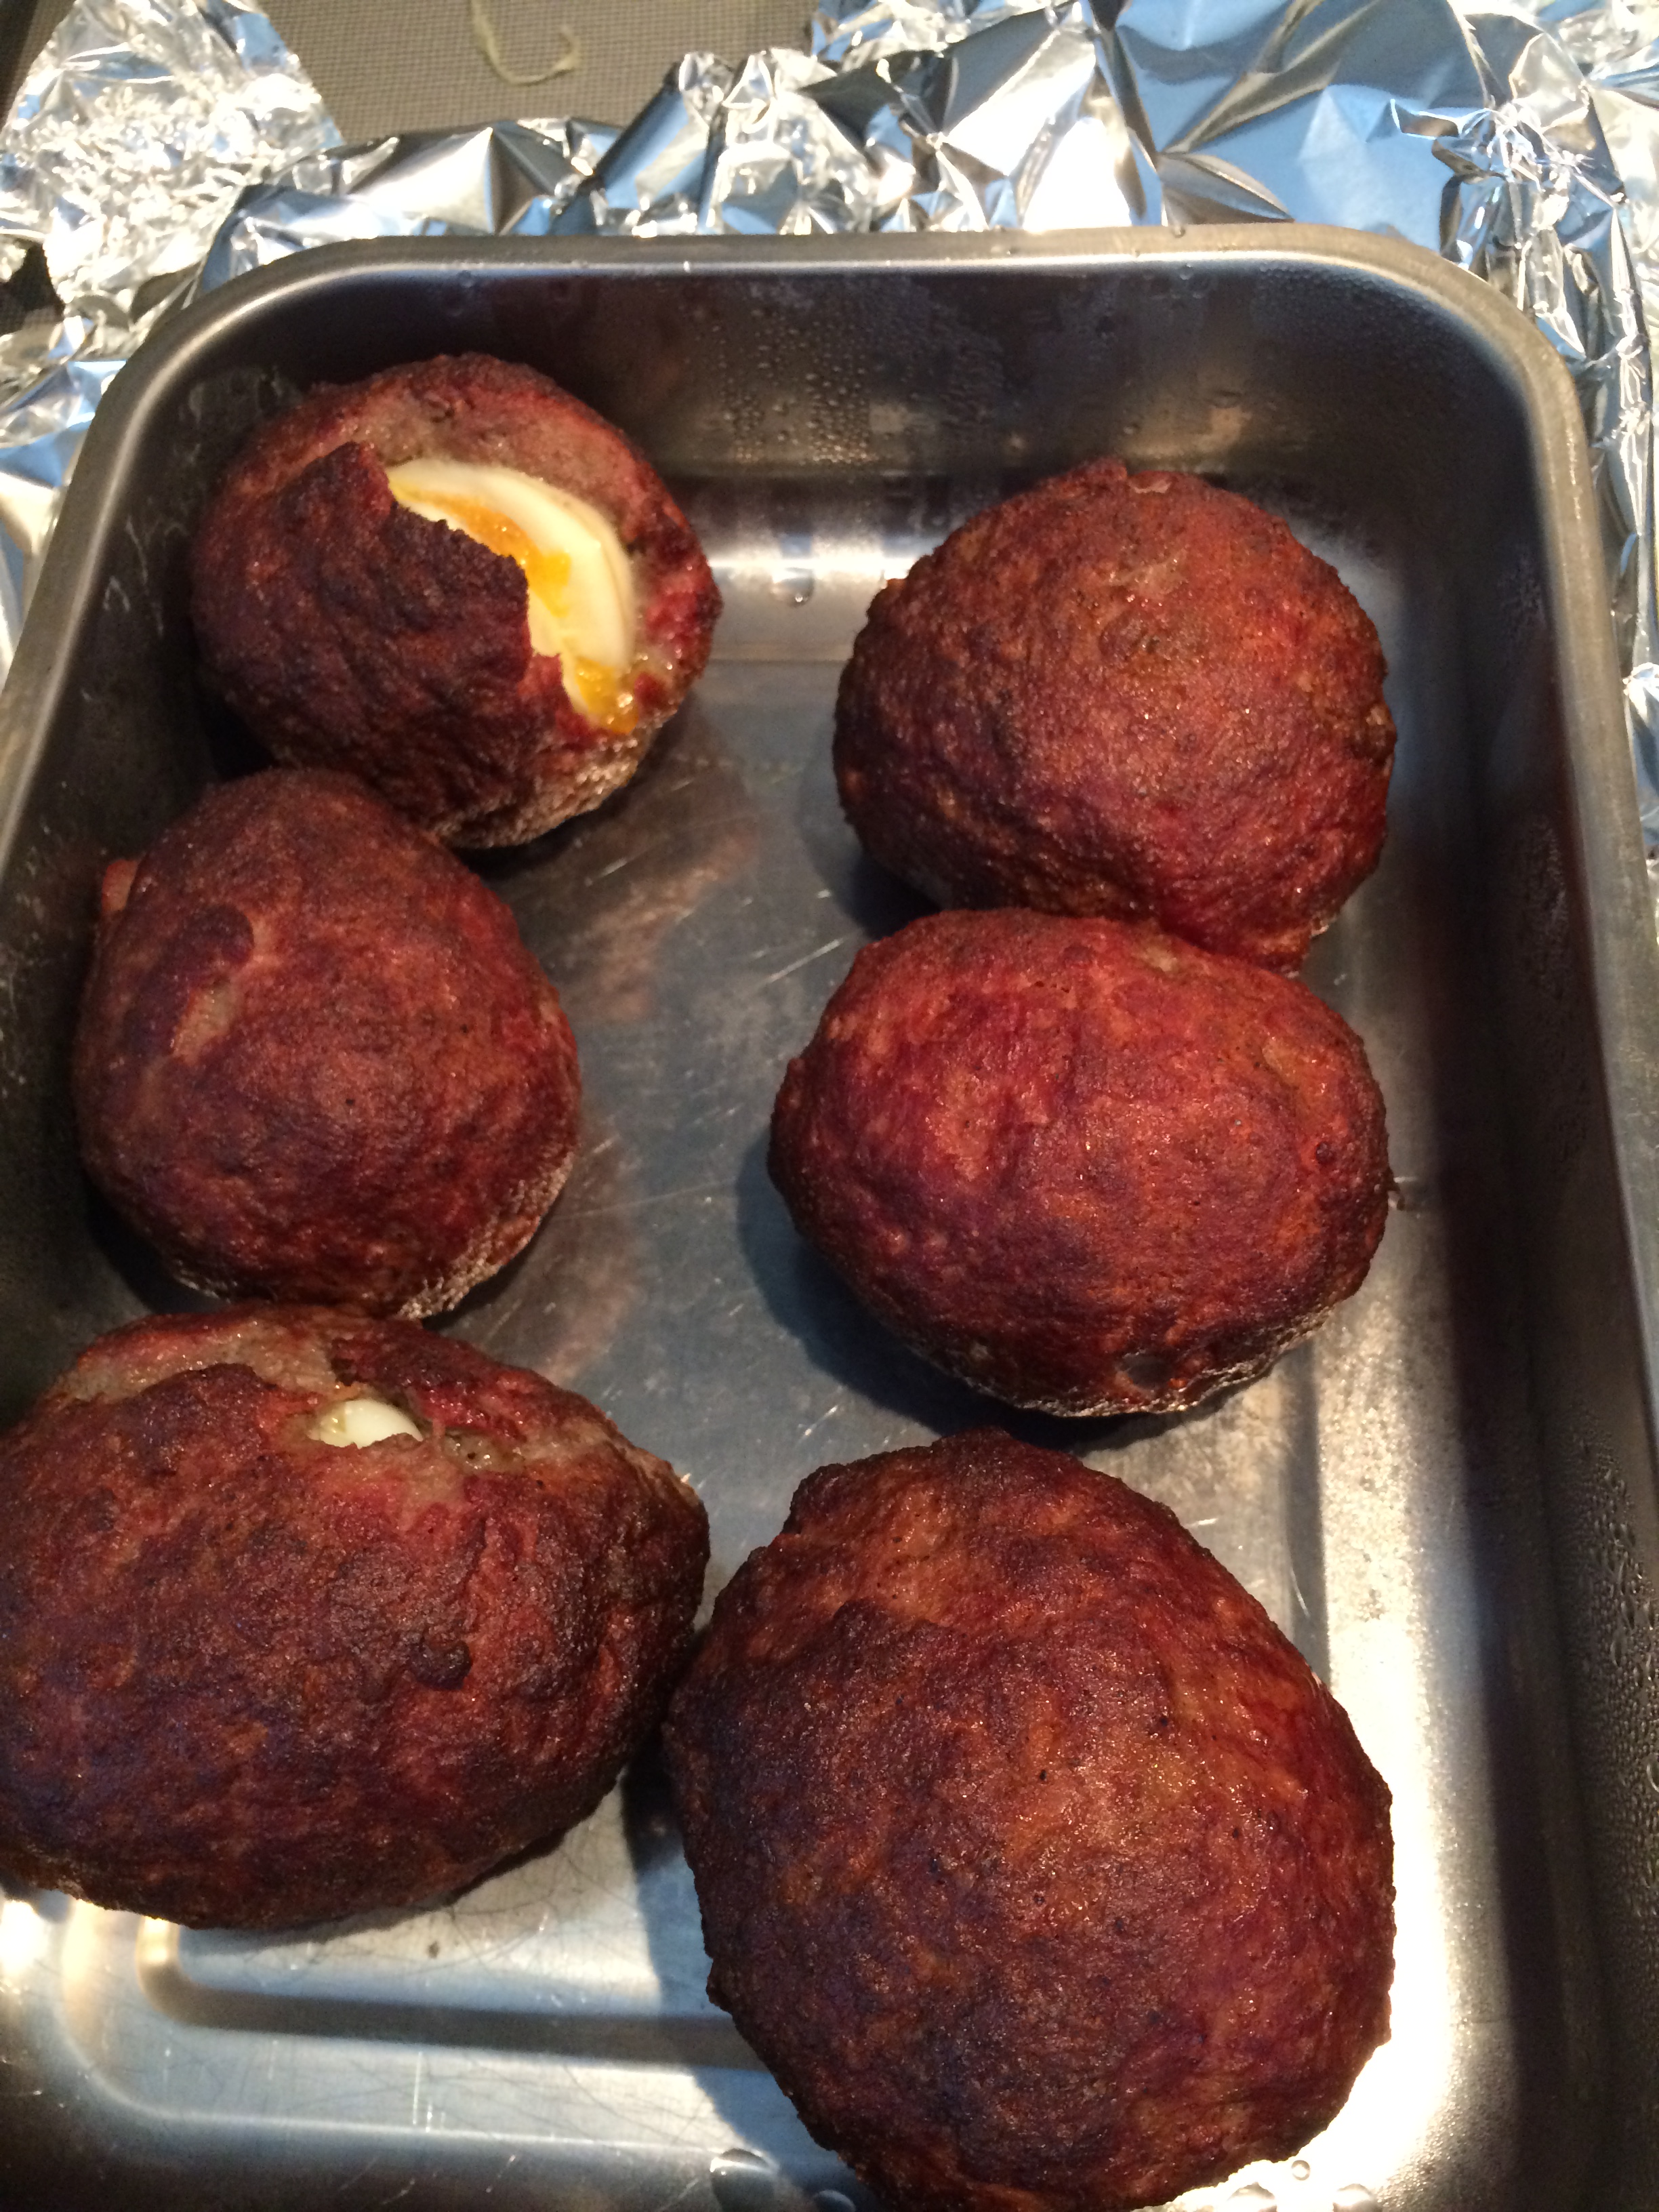
After about 30 – 35 minutes I’ve topped them off with a slice of cheddar melting cheese and let it go for the last 15 minutes.

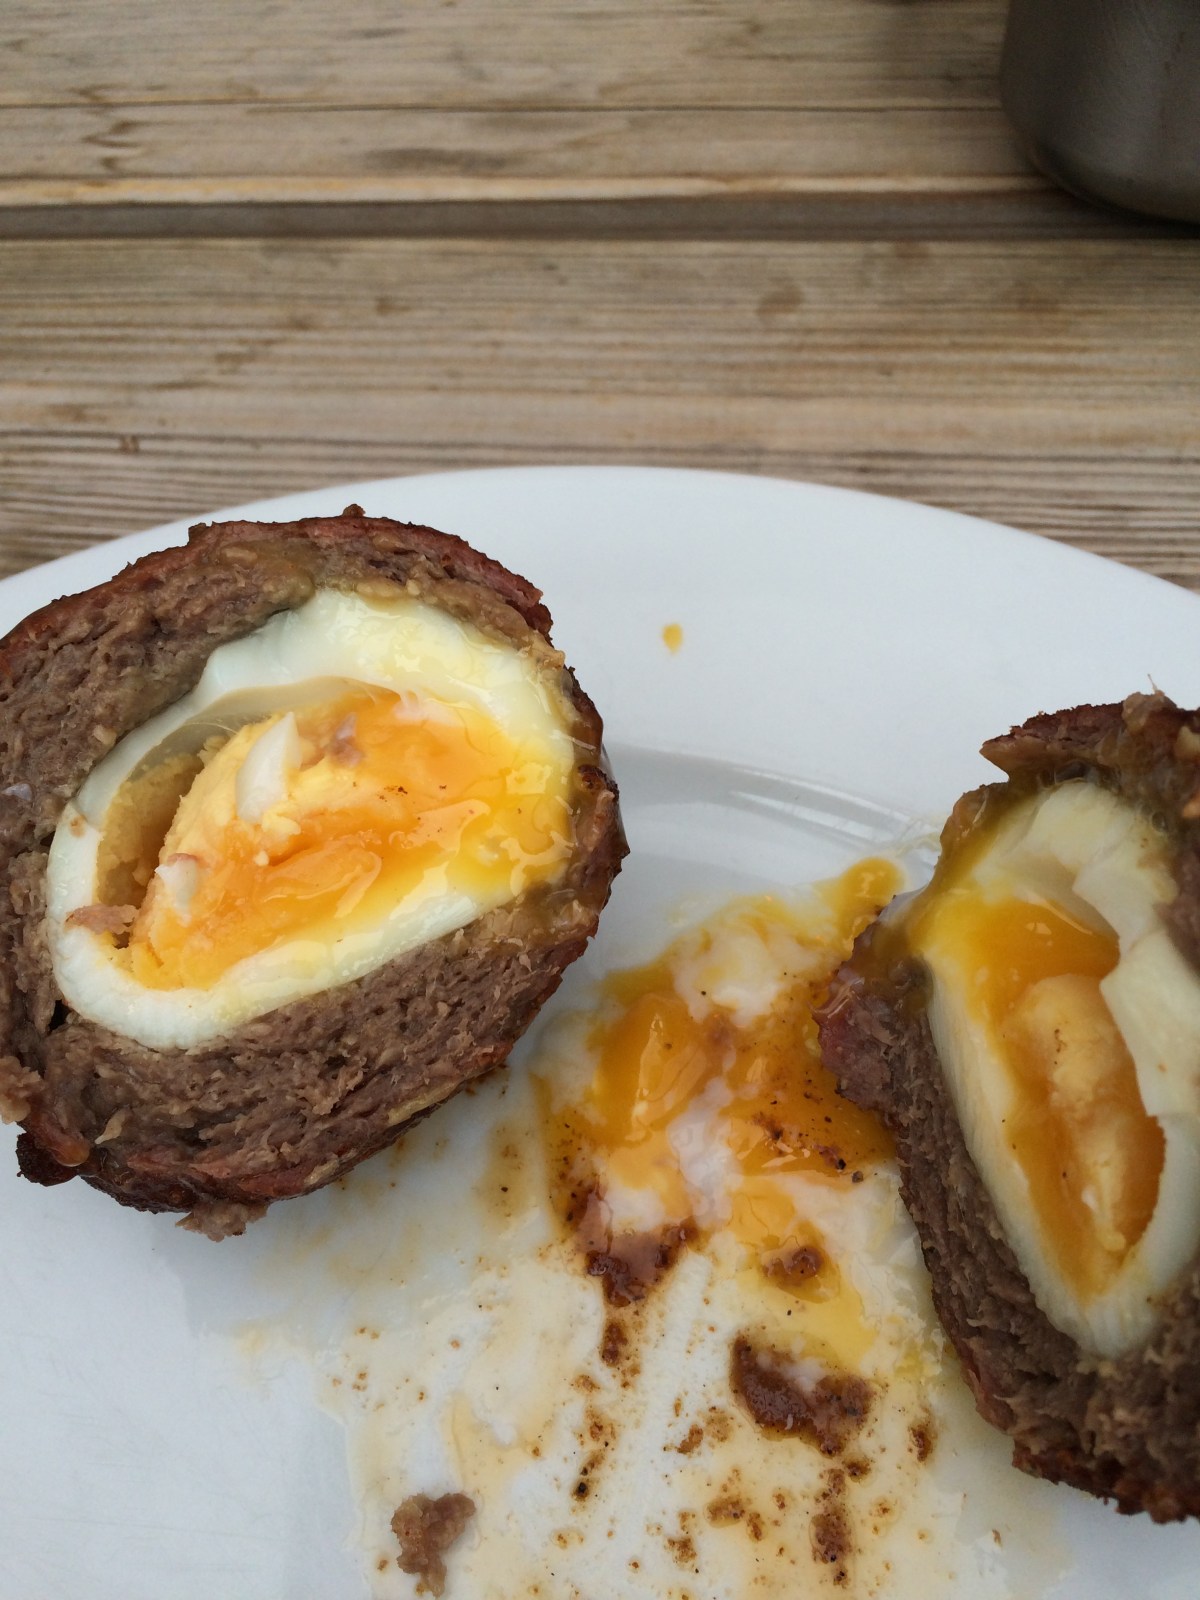
But know, that after 45 minutes of pure agony, you will be left with 2 of those gorgeous pieces of meat and vegetables. You can’t find a better burger anywhere! I’ve ate them with some home made DO bread, and it was delicious! Definitely worth a try!

IMG_3128

Simple sateh sauce

For this really simple, yet very good and tasty sateh sauce, you just need the following.

  • 200 grams of peanut butter ( I used the one with nuts in it)
  • 300 ml of simple water
  • 2 cloves of garlic
  • a big spoon of sambal, but hey, that’s just me….
  • about 2 tablespoons of soy sauce

For this to work, very simple, put the peanut butter in the pan. Add the water and start stirring until it cooks.

IMG_2932

IMG_2936

IMG_2933

Once it cooks, add the squeezed garlic, the soy sauce and the sambal to the party.

Keep stirring and keep stirring and let it cook until the desired thickness is reached. It’s a very simple process, but in return you will get a great sateh sauce!

IMG_2938

Pork Sate with homemade sate sauce

Yesterday, it was fantastic weather and I just had to light the grill once more. Nobody to cook for, so I kept it simple, but not less tasty!

For the sate I bought a pork tenderloin of about 400 grams. Not much, but it will do the trick just fine! I’ve cutted it up in a small cubes, most of them the same size, of course.

IMG_2896

IMG_2897


The next thing to do was to cut up, very finely, a spanish pepper, and about 3 cloves of garlic. I do love my garlic, and I’m not scared of it one bit! Very healthy too!

IMG_2898

IMG_2899

IMG_2900

Just mix it in and add a nice shot of soy sauce and some good olive oil. Mix it all well and placed it in a ziplock bag and in the fridge for a nice overnight stay.

IMG_2902

IMG_2903

IMG_2904


Next day, I fired up the grill and waited until it was simmering hot! I took the sate meat and placed it on wooden sticks, that I soaked a long time in water.

IMG_2923

IMG_2919

IMG_2920

When the grill was ready, I placed them very shortly on the coals, turning them rather quickly. about 30 seconds per side.

IMG_2939

After that, I moved them to an indirect spot. This is when I made the sate sauce, but more about that over here.

IMG_2941

Once ready, just serve with some bread and enjoy! I know I did!

IMG_2942


Smoked Scotch Eggs

Finally, after some time, ready for another post. I’ve slimmed down the grilling endeavours slightly, but didn’t stop. Haven’t been very original lately, and don’t want to overflow y’all with pictures of things that I’ve done before already, of course.

This weekend, however, I’ve gotten the inspiration to do something new, yet pretty easy, though when done correctly, a nice surprise! Scotch Eggs. For those of you who don’t know this typical Scottish pub-food, it’s like a soft boiled egg inside a ball of meat. Tasty and good!

Not much is needed, so here we go.

I’ve started out with the following,

  • beef sausages
  • eggs (soft boiled)
  • powdered paprika
  • salt, pepper
  • nice mystery rub, provided by my friend Arne. (still no idea what was in, but neither did he anymore).

I’ve actually started out with the boiling of about 6 eggs. I’ve been pretty strict in that, in order to boil them soft. What I usually do to ensure soft boiled eggs is the following. I bring the water to a good boil, place the eggs in (with a small hole pinched in the back of the egg to make sure they don’t break), boil for 6 minutes exact, take out of water and COOL DOWN. If not cooled, the eggs will continue to get harder inside. I take a bowl and keep a steady flow of cold water from the faucet running for about 30 seconds. For these eggs I’ve taken it one step further, and placed that bowl of water with the eggs and placed it in the refrigerator.

After that I continued with the removal of the beef from the sausages itself. Not hard, but you do get sticky fingers here.

IMG_1269

Mix it all through with some paprika powder and some salt and pepper. You can do some more in there, but I didn’t. Call me lazy, but I was more interested to see the end result in this case then working on the flavour of the meat.

IMG_1270

I peeled the eggs under a running water faucet and made sure they didn’t have any breaking parts in it. Very gentle and delicate work here ;-). Now flatten out some meat and fold it around the egg. No tricks here, just be very gentle again, cause you don’t want to squeeze the egg out or worse ….

IMG_1271 IMG_1272

I’ve put some rub on them and did some plastic foil around them. Placed them in the fridge for some hours to let the rub do it’s work and we’re ready to fire up the Q.

IMG_1273

Once hot (around 180-200 degrees Celsius), we placed the balls on there for about 25-30 minutes indirect.

We also added about 3 pieces of hickory to smoke it good. Can use a little more wood, as it only cooks for 30 minutes.

IMG_1274

Unfortunately one was slightly cracked in the meat and one of the eggs was really broken as well, but the other 4 were beauties! Look below and judge for yourself! Very tasty and we accompanied it with some pasta with freshly made pesto and grilled corn from the Q. (which apparently is much better if you forget it and leave it on the grill for 1,5 hours indirectly)…

IMG_1276 IMG_1279

Definitely worth a second go, but I will work on the meat a little more then! Keep you posted guys!

Blokhuis’s Beer Bottle Burgers

Hallelujah, I’ve discovered barbecue heaven! A most delicious, easy to make and very beautiful recipe, seen first by the PitmasterX (in my case), where they were done with a beer can. Because of the absence of cans in my house, I swapped the cans by a bottle and did a similar thing. It was heaven on earth! Fantastic! Continue reading “Blokhuis’s Beer Bottle Burgers”